
The Kit
I
had this box for many years, when a group build started on a forum. I
registered with this kit, not being sure at first glance what type I
would be building. After some research I figured out that the F Mk 3
was not far away from its naval counterpart, the F Mk 20.
Decision was then made to attempt the conversion of this F3 to a F Mk20.
The
Frog boxing is an old mould, with raised panel lines and not that many
details. The project would then include a full rescribing of all panel
lines, taking care of the specific navalized version, which included
folding wings.Before gluing any part together, upper and lower wing sections were rescribed separately.


Construction
Front
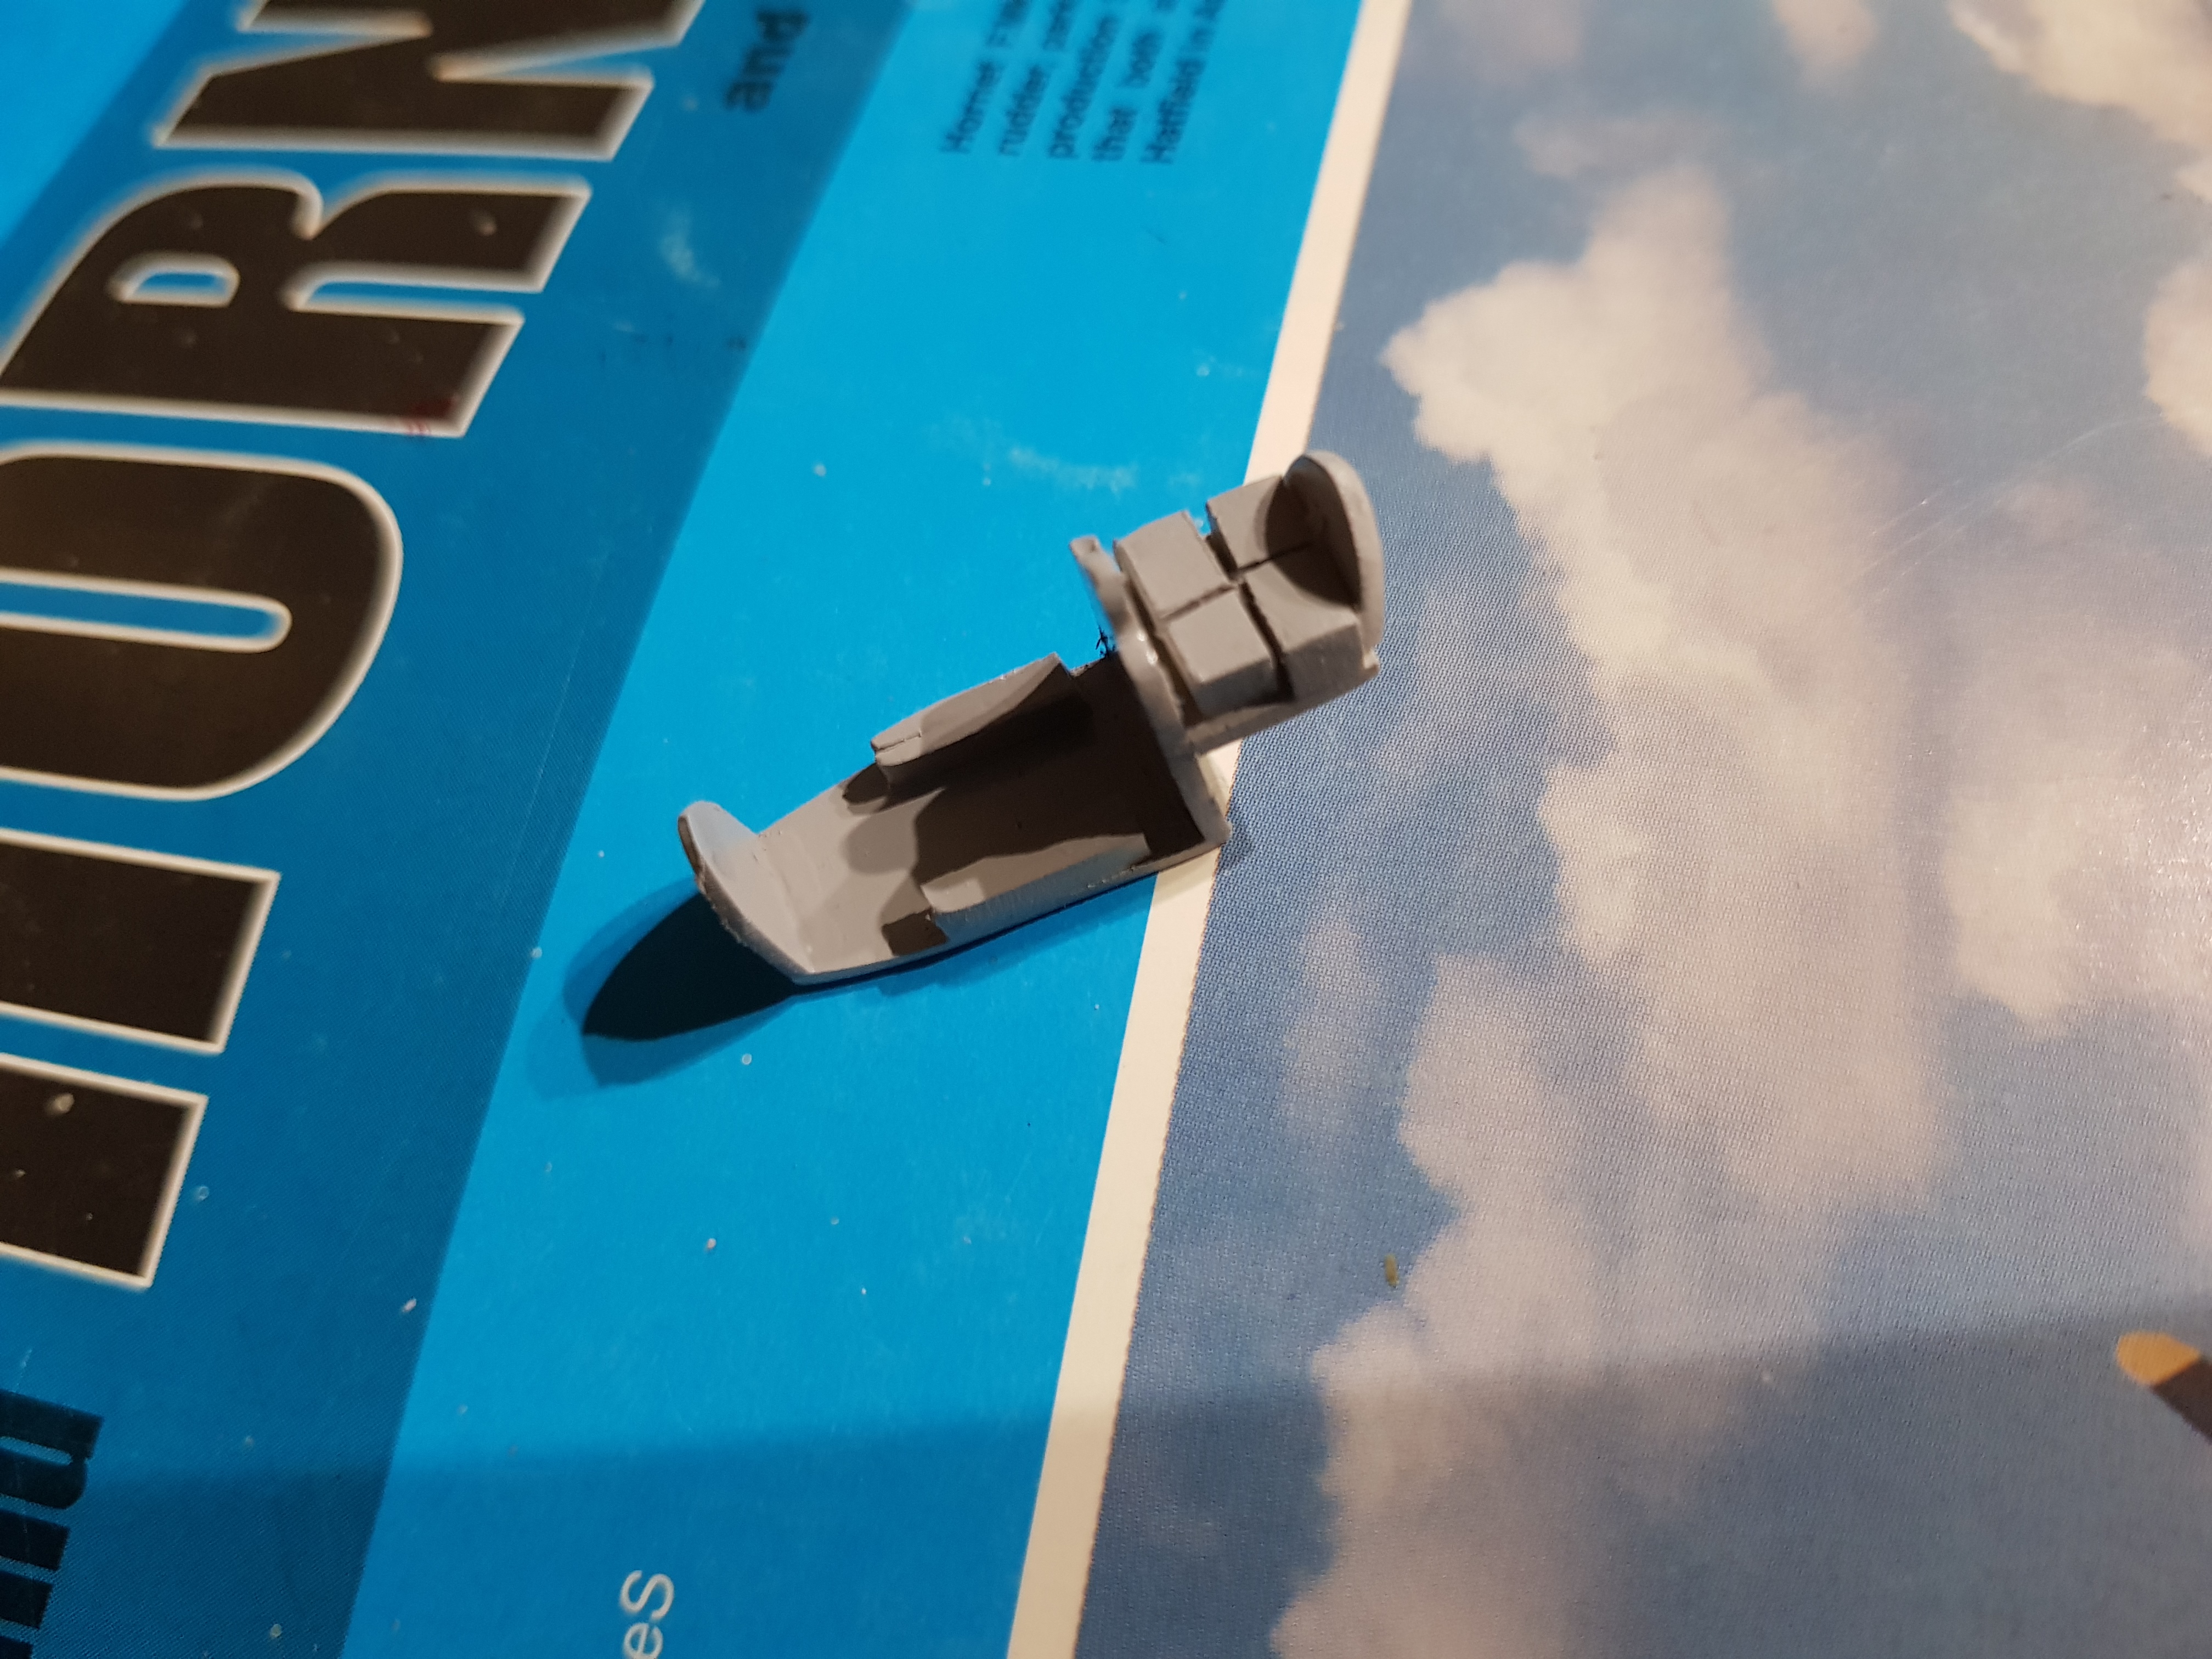
office oob remains quite basic, void to be correct. Some scratch
building is required to fill in this gap. Cabin floor with side
consoles are build out of plastic sheets. Inside of cabin is painted
black. Instrument panel is also detailed as much as possible. I used
Mike Grant decals on the dashboard.
The wings : I
wanted the props to turn smoothly and did not want to fix them in their
position before the kits got its paint job completed. Frog assembly did
not allow for such a later assembly. So I decided to proceed my own
way, using brass rod and tubes.A section of tube is inserted in the spinner while a rod is inserted in the engine nacelle allowing it to turn freely.
At the end of the build, the spinner will be glued on the axle.
Small
pieces of plastic card have also been inserted at the location of the
exhausts pipes. They will also be fixed in place at the end of the
build.
Progress on the wings that have been assembled but the spinner which is there for a dry fit. I
need to be watchful about the props as they are 'sided' with one left
and one right, descending blade towards fuselage, left engine rotating
clockwise from a pilot's view, right engine counterclockwise.
Then some attention was given to the elevators, small rescribing and rivetting job.
Some
work on the fuselage, first evidence of the naval version of the
hornet, the camera windows located each side of the fuselage just
ahead of the vertical fin location.
Next
work on the airframe is the enhancement of the gun nozzles. I casted a
resin copy of the Special Hobby hornet which was more convincing than
Frog's vision of this part of the plane. After both fuselages halves
have been gled together, I carefully cut off the correspondingsection and put the new resin copy in place. The cut went pretty well and the new part fit was close to perfect, at leat it made me happy after some sanding and a very small quantity of filler to make the join seamless.
Build is continued, with lots of dry fit assemblies and a grey coat of paint to check the scribing work.
La peinture
Début de la phase
peinture, avec un préombrage de noir dans les lignes de structure, de
même que le panneau anti reflet devant le cockpit. L'arête dorsale
demande un petit traitement au mastic.
La peinture continue, le blanc sur les surfaces de contrôle est passé, de même que le rouge sur les becs de bord d'attaque et les entrées d'air. Tout est ensuite protégé en vue du passage du gris sur le dessus.


Les décals
Les finitions
Le modèle est mis sur ses roues, les ailerons sont mis en place de même que les porte de train et les bidons, les derniers détails sont ajoutés.