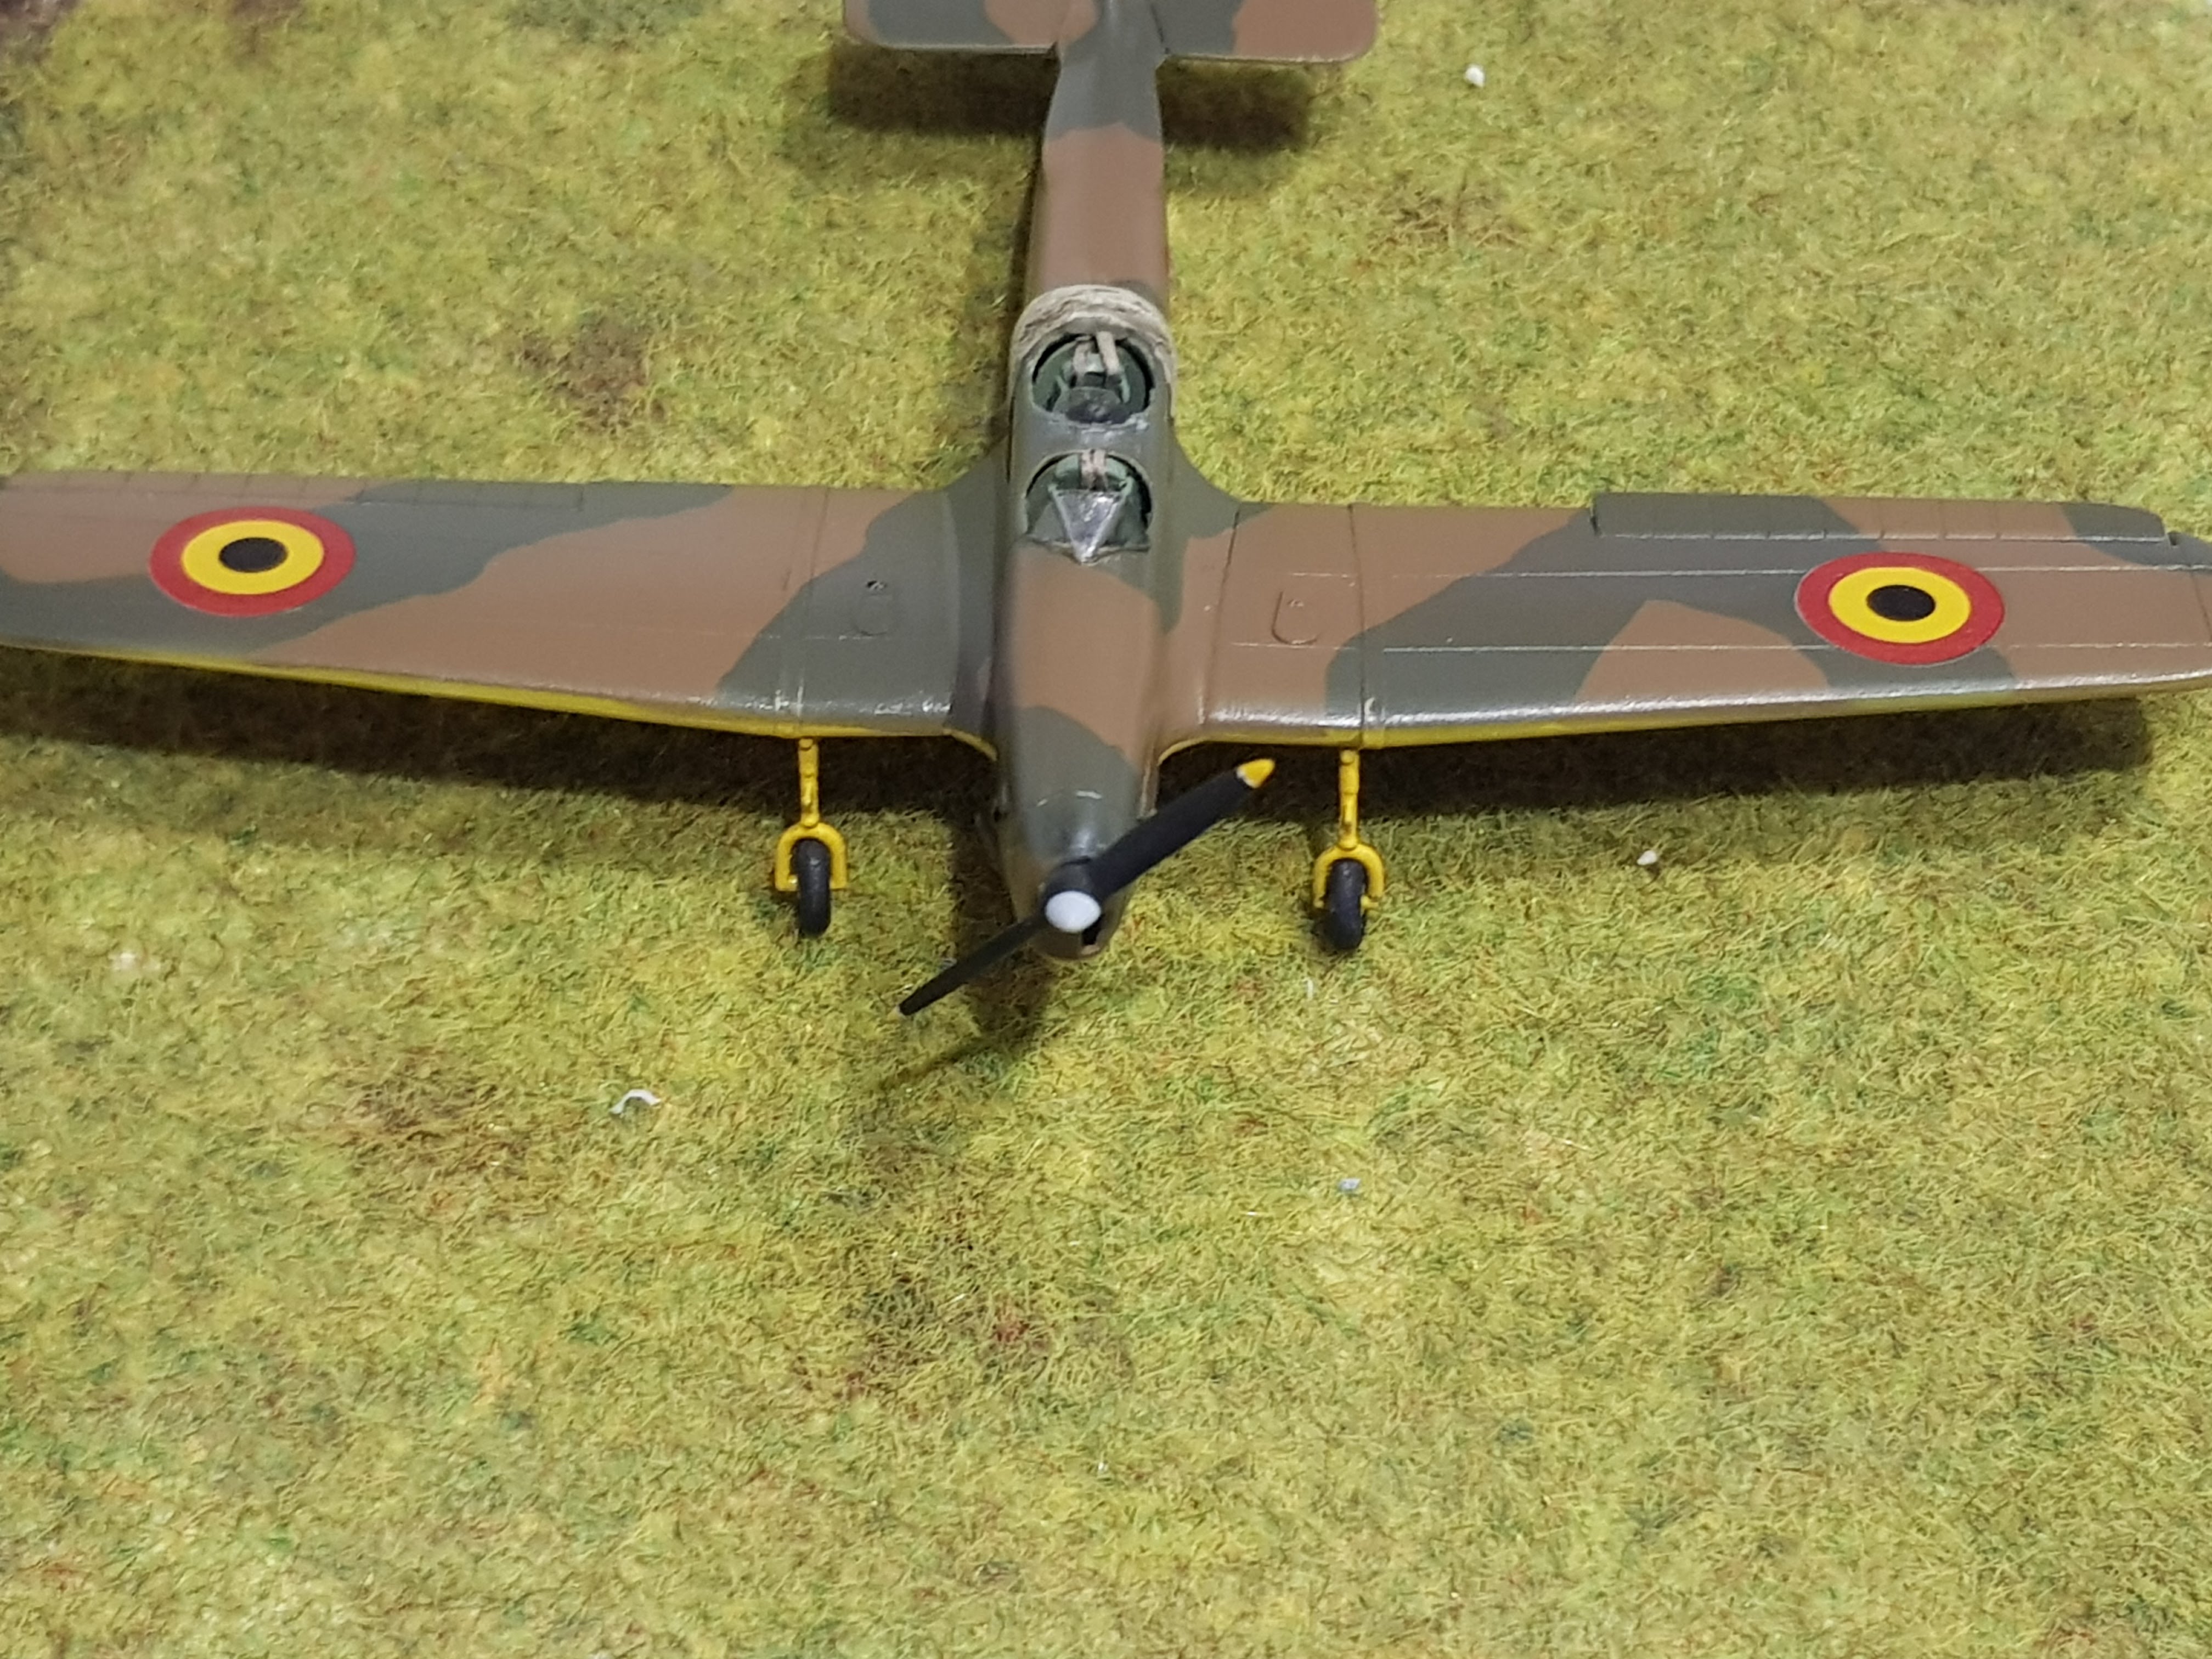
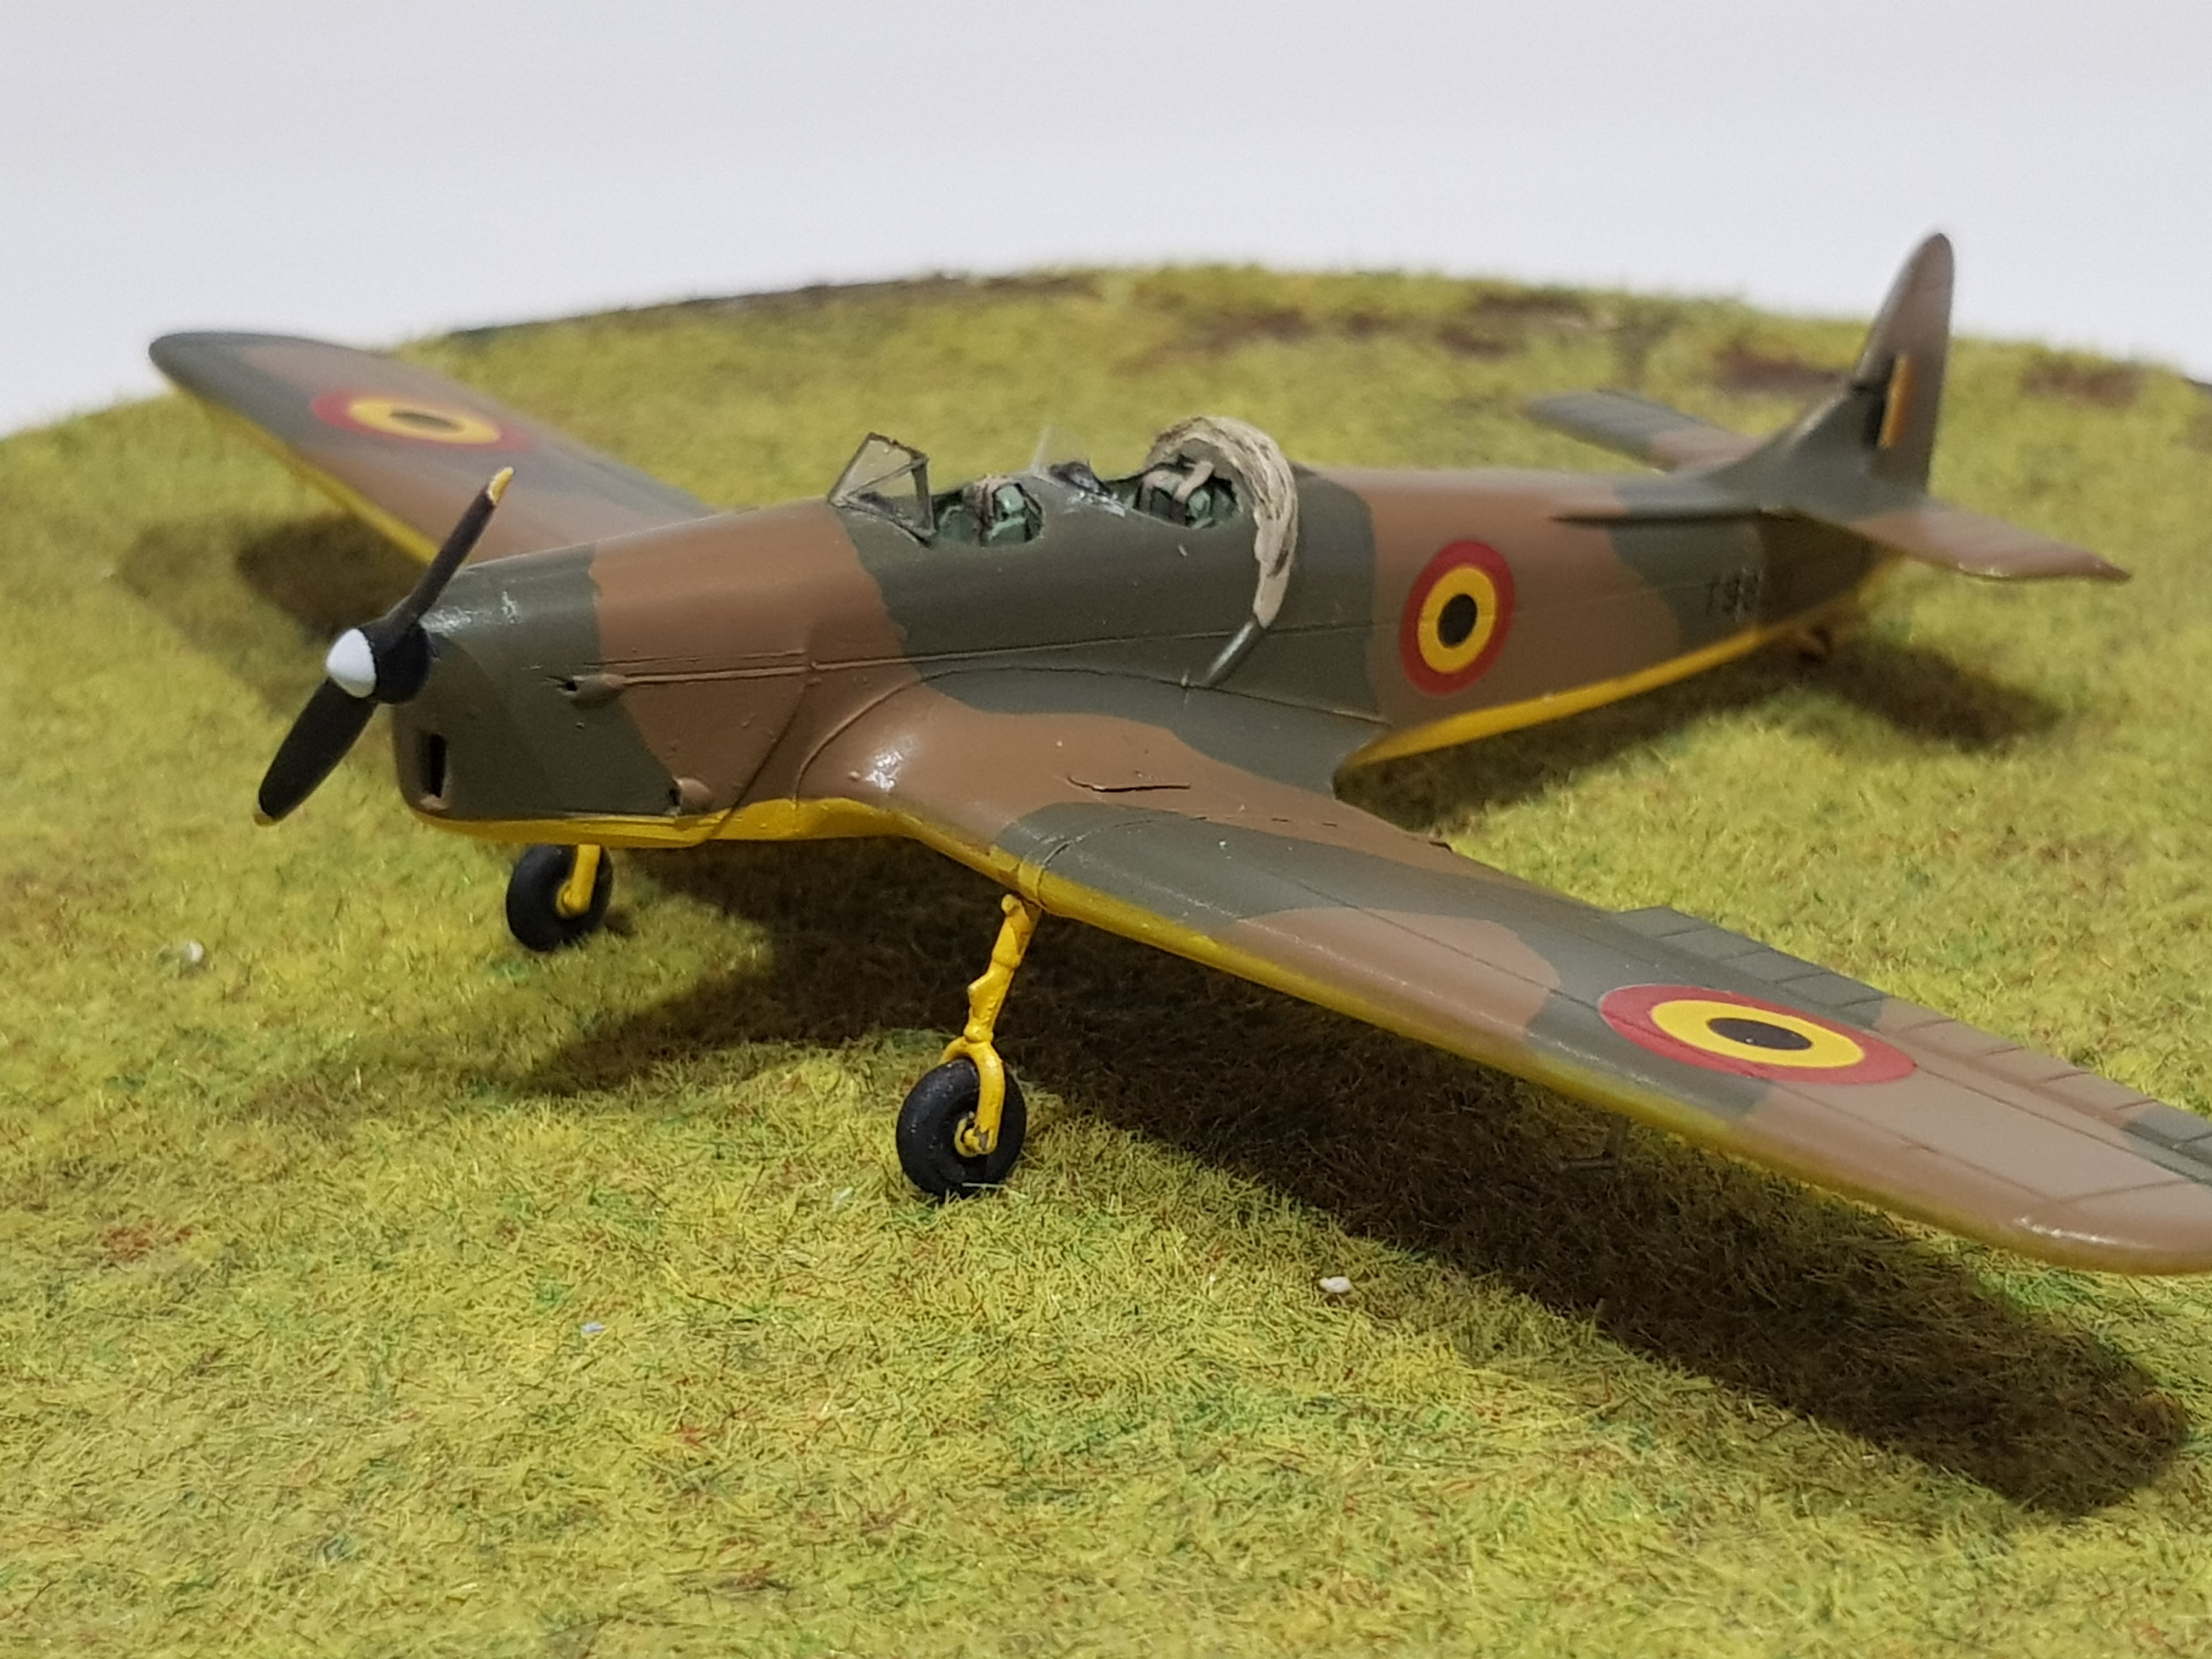
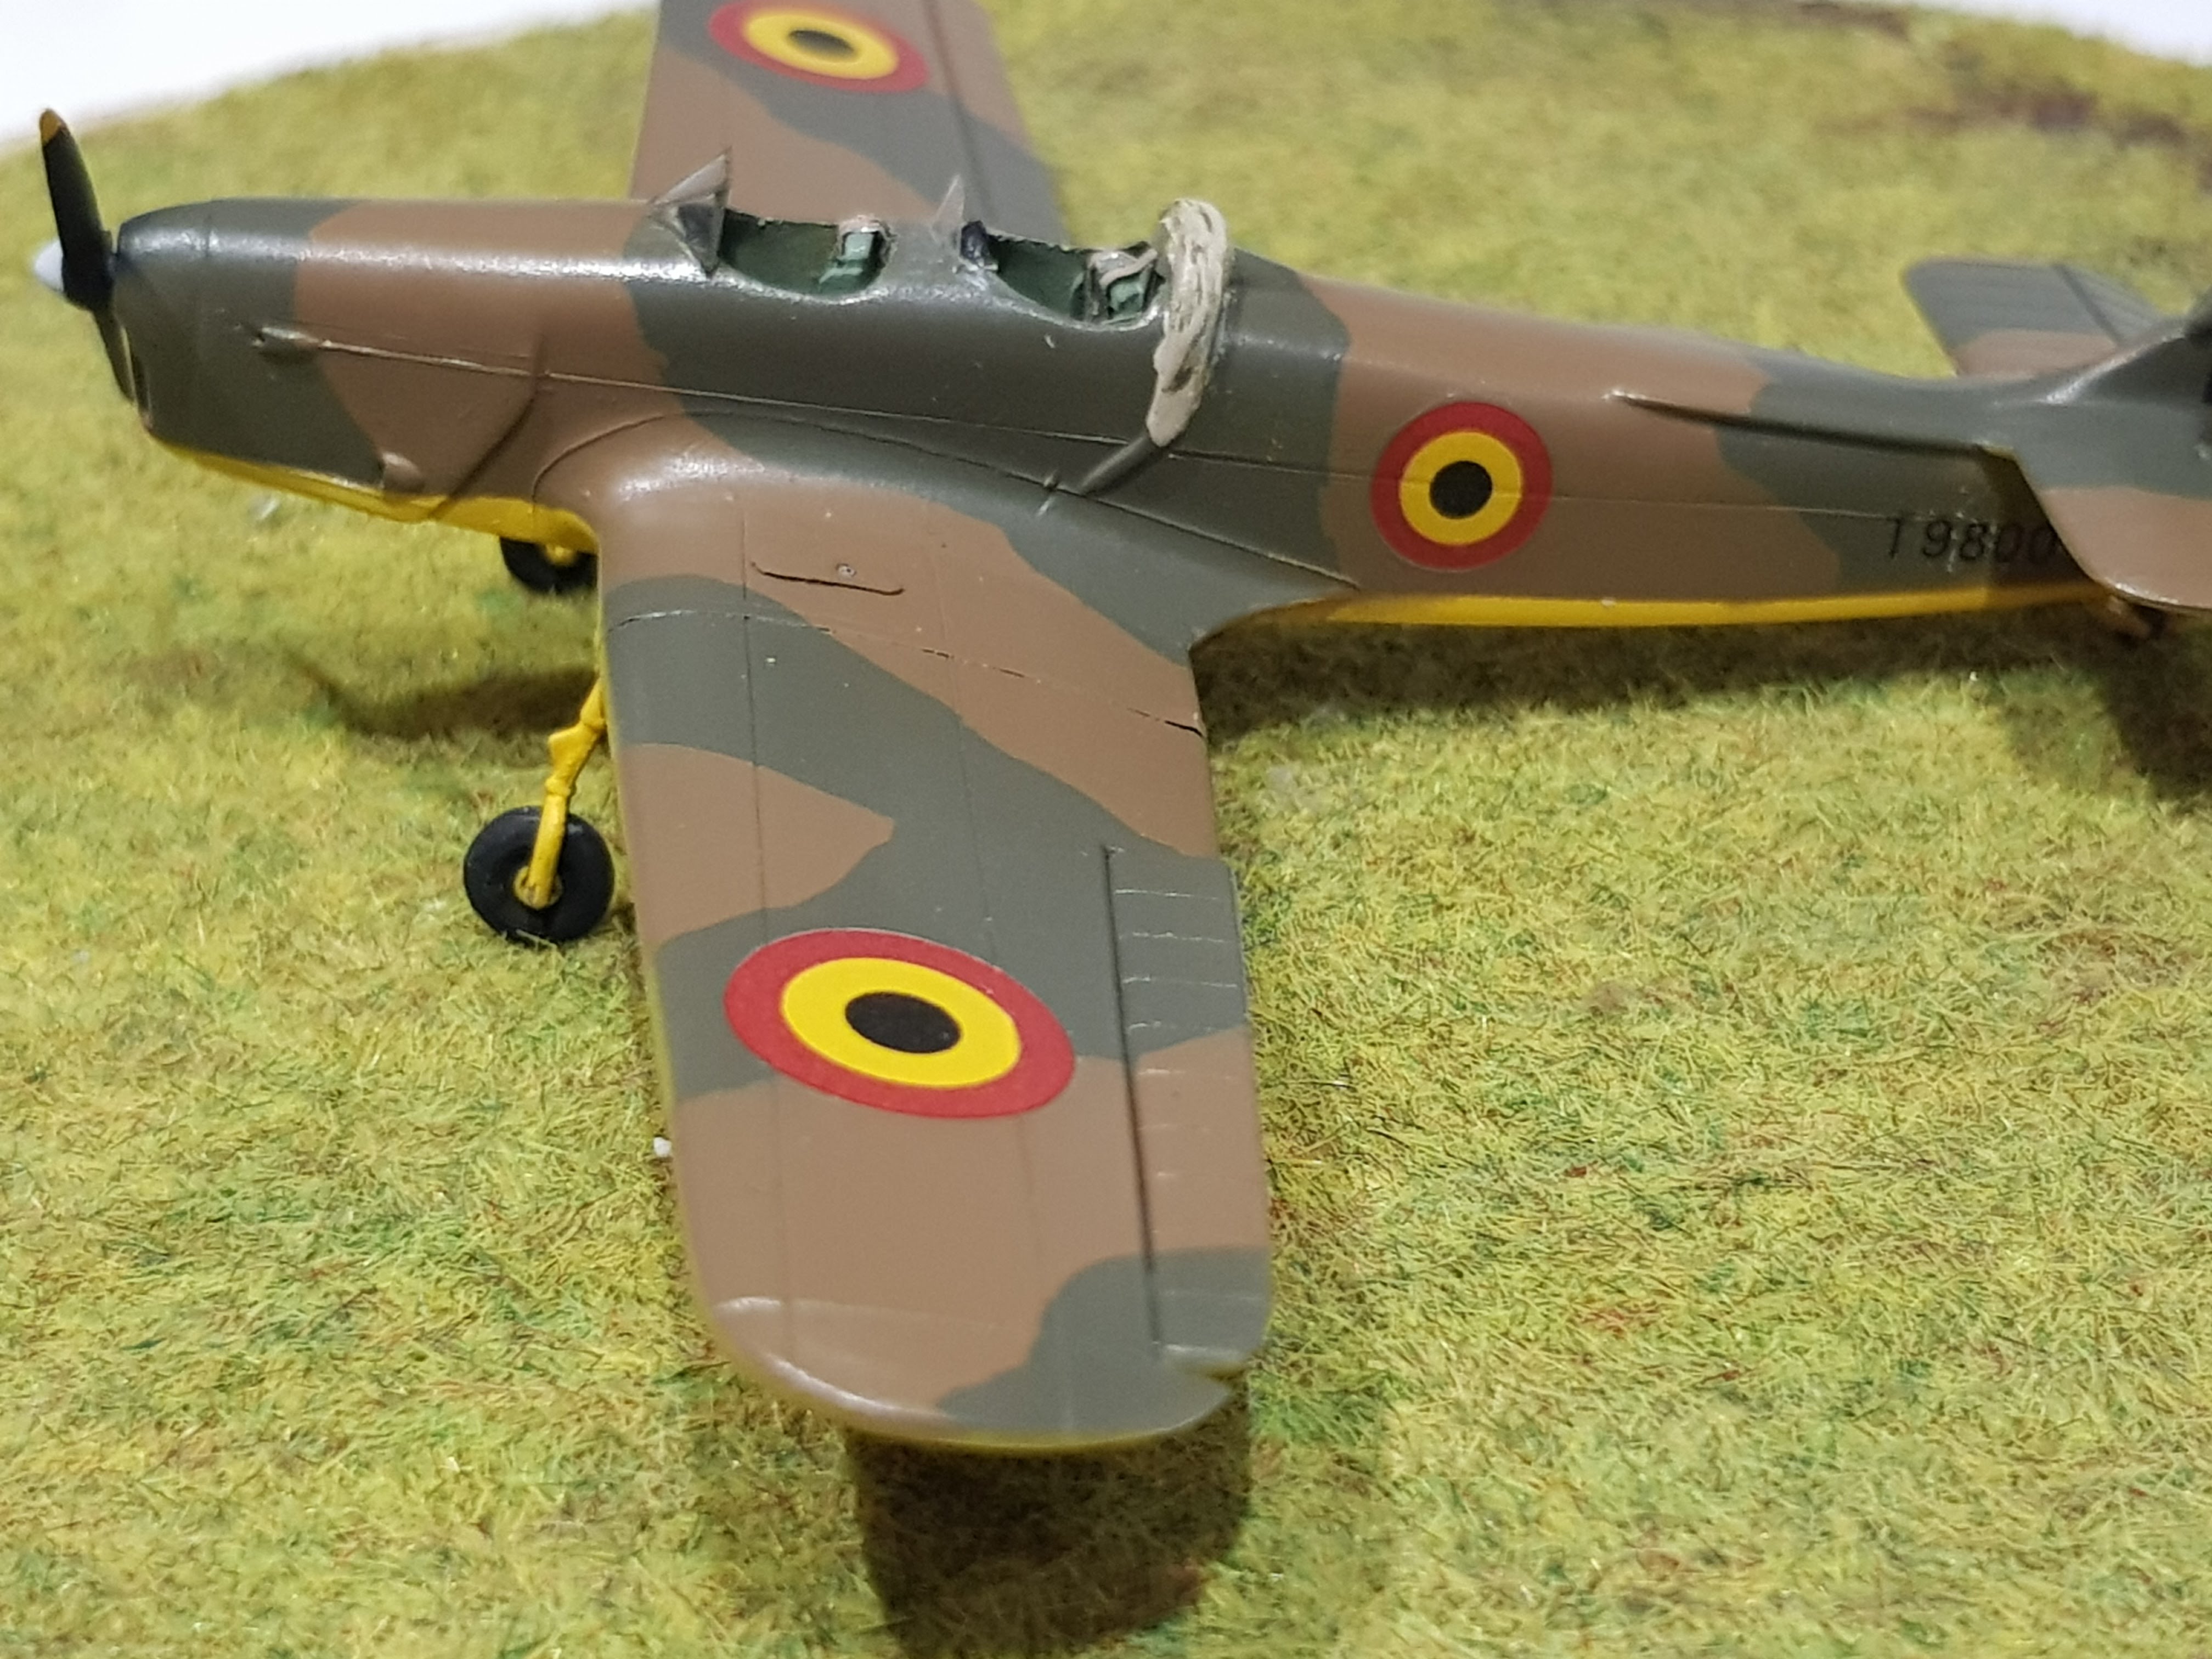
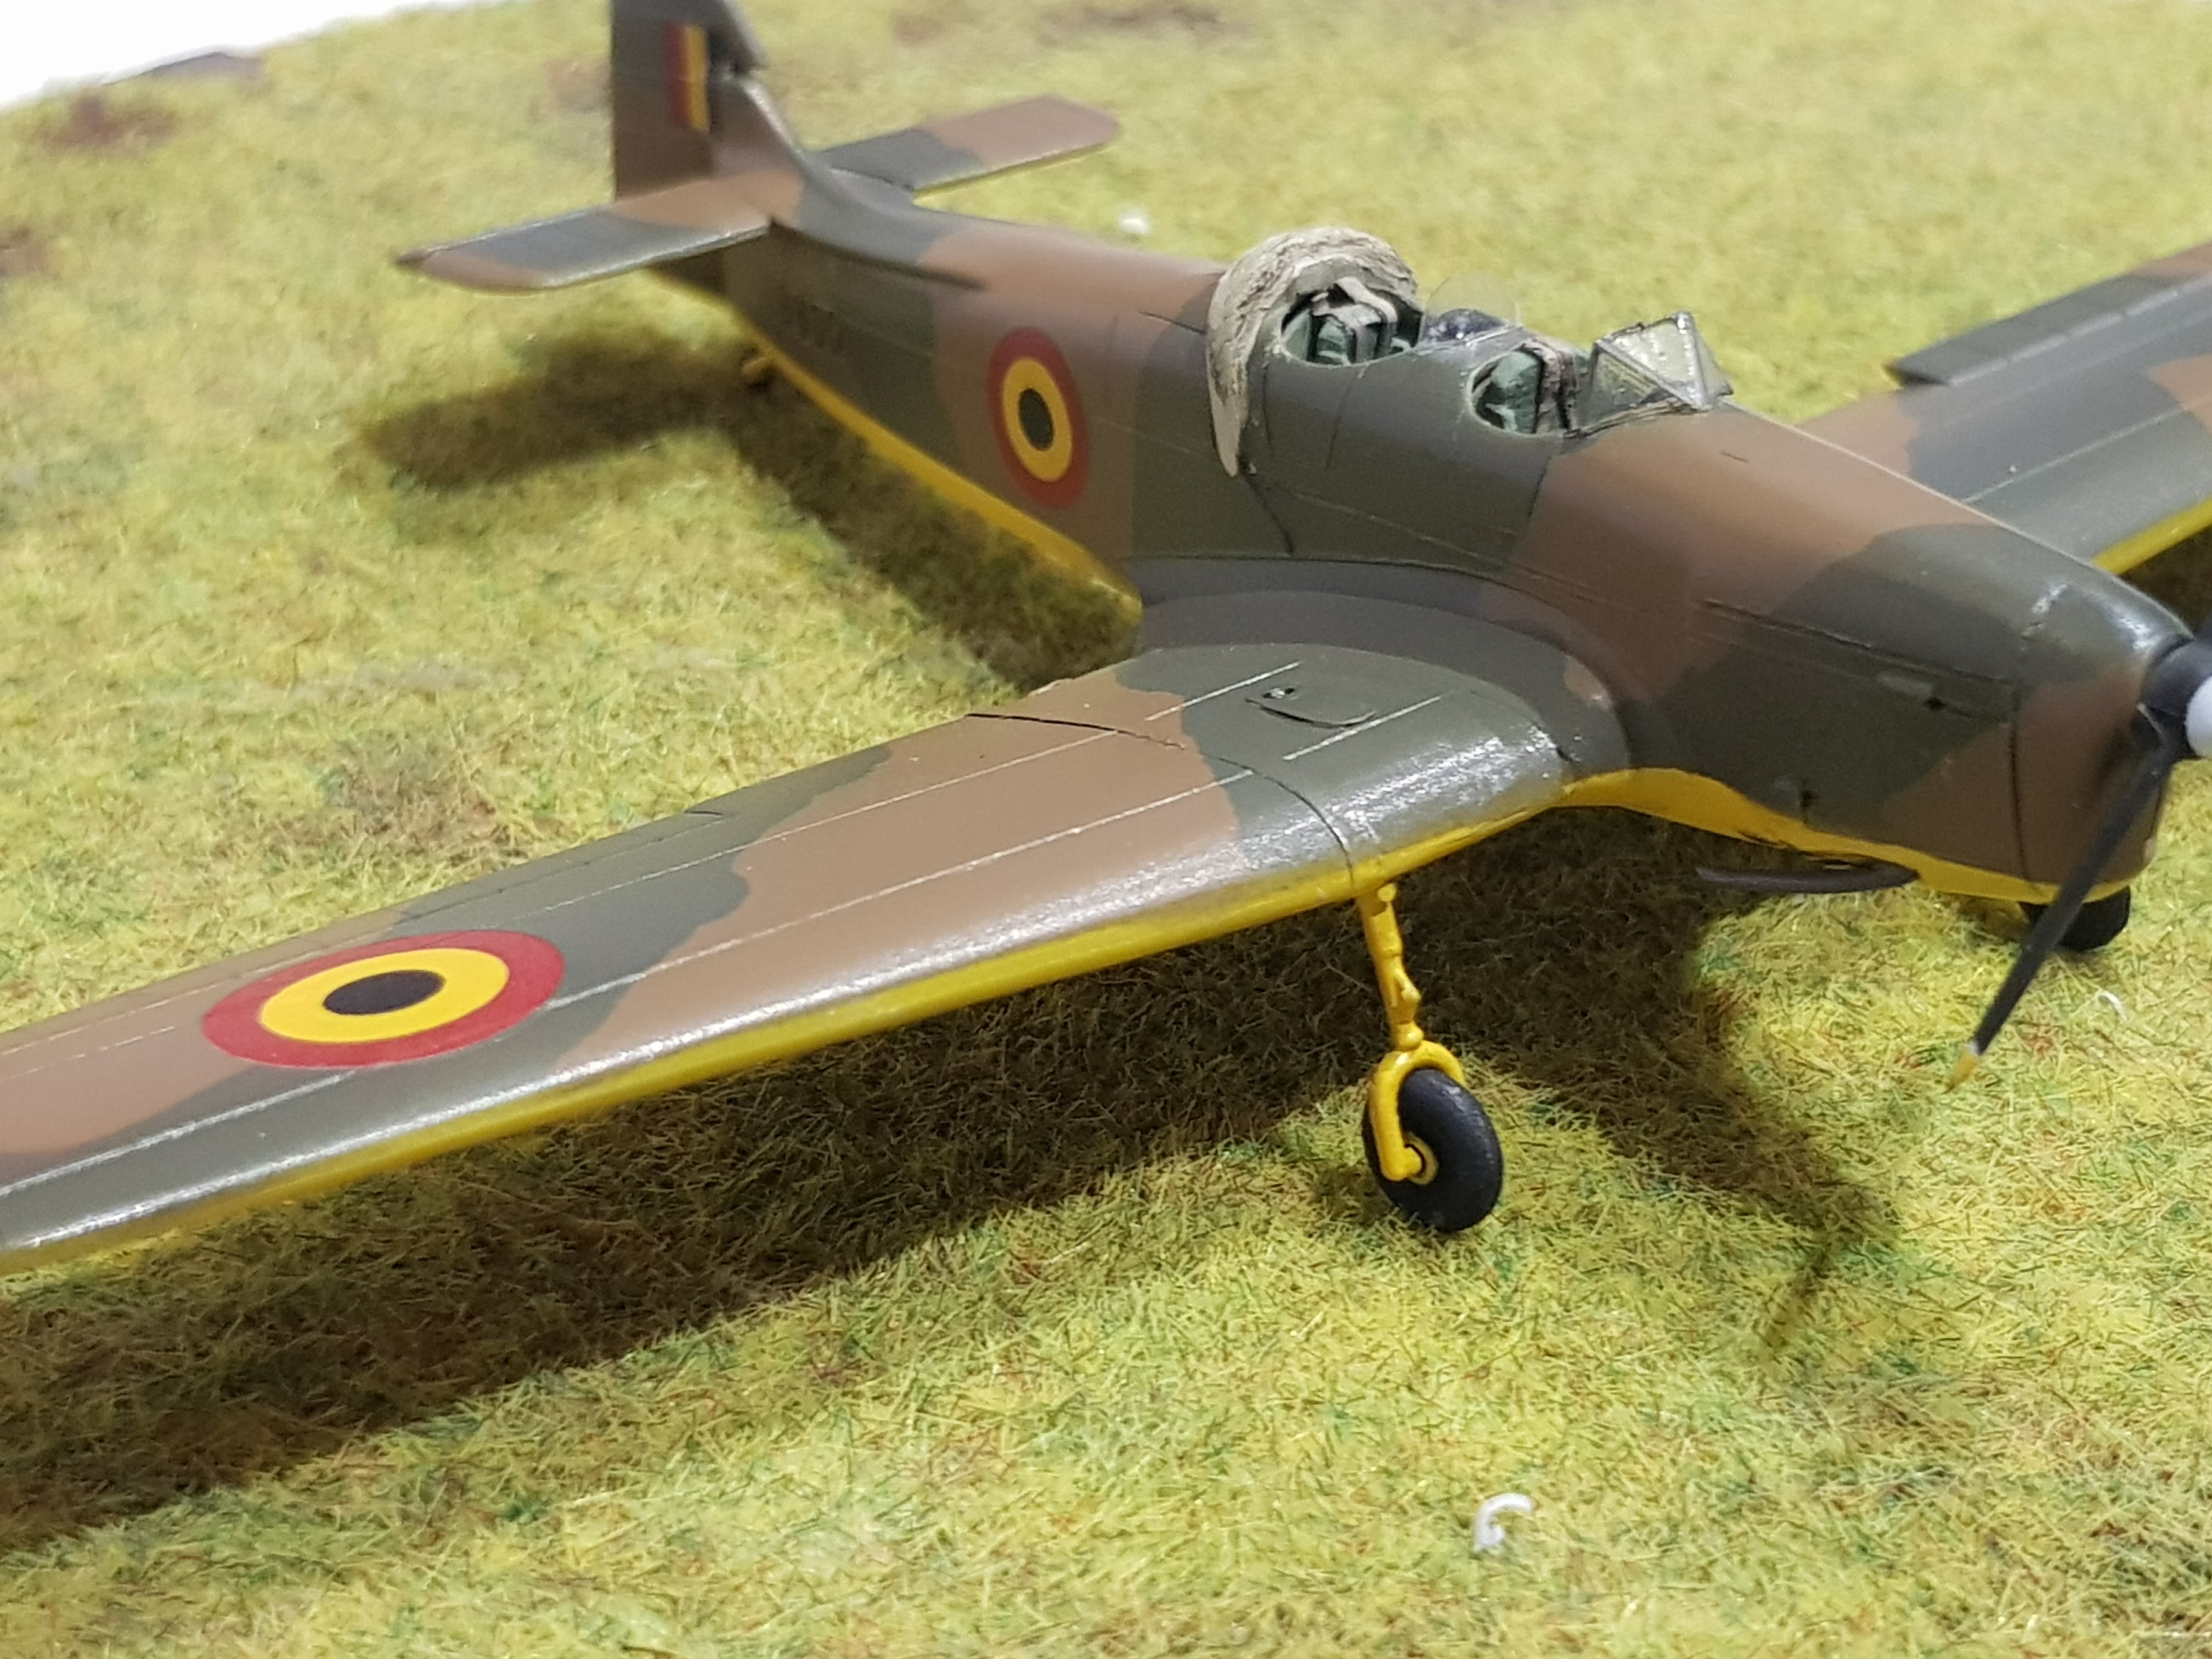
Miles M.14A Magister
Force Aérienne Belge - 1946-1953
Novo 72 scale
On
3 October 1946, one single Miles Magister was transferred from the RAF to
Belgium to be used as instructional airframe at the Technical School at
Saffraanberg. Early 1947 the machine was made airworthy and delivered to
367sq/169Wing at Evere where it was used for communication flights, first
registered TMR 50/DMT 50 later G-1. In September 1953 the machine was
stricken of charge and continued its career on the civilian register as OO-NIC.
Rescued in the seventies by museum-volunteers the restored machine is now on
view at the Royal Army Museum in Brussels
I had the novo
kit in stock for a while, having in mind to build it as the aircraft
that flew with the belgian air force early after WWII. There was a
group build running on a forum and I registered with this build. I must
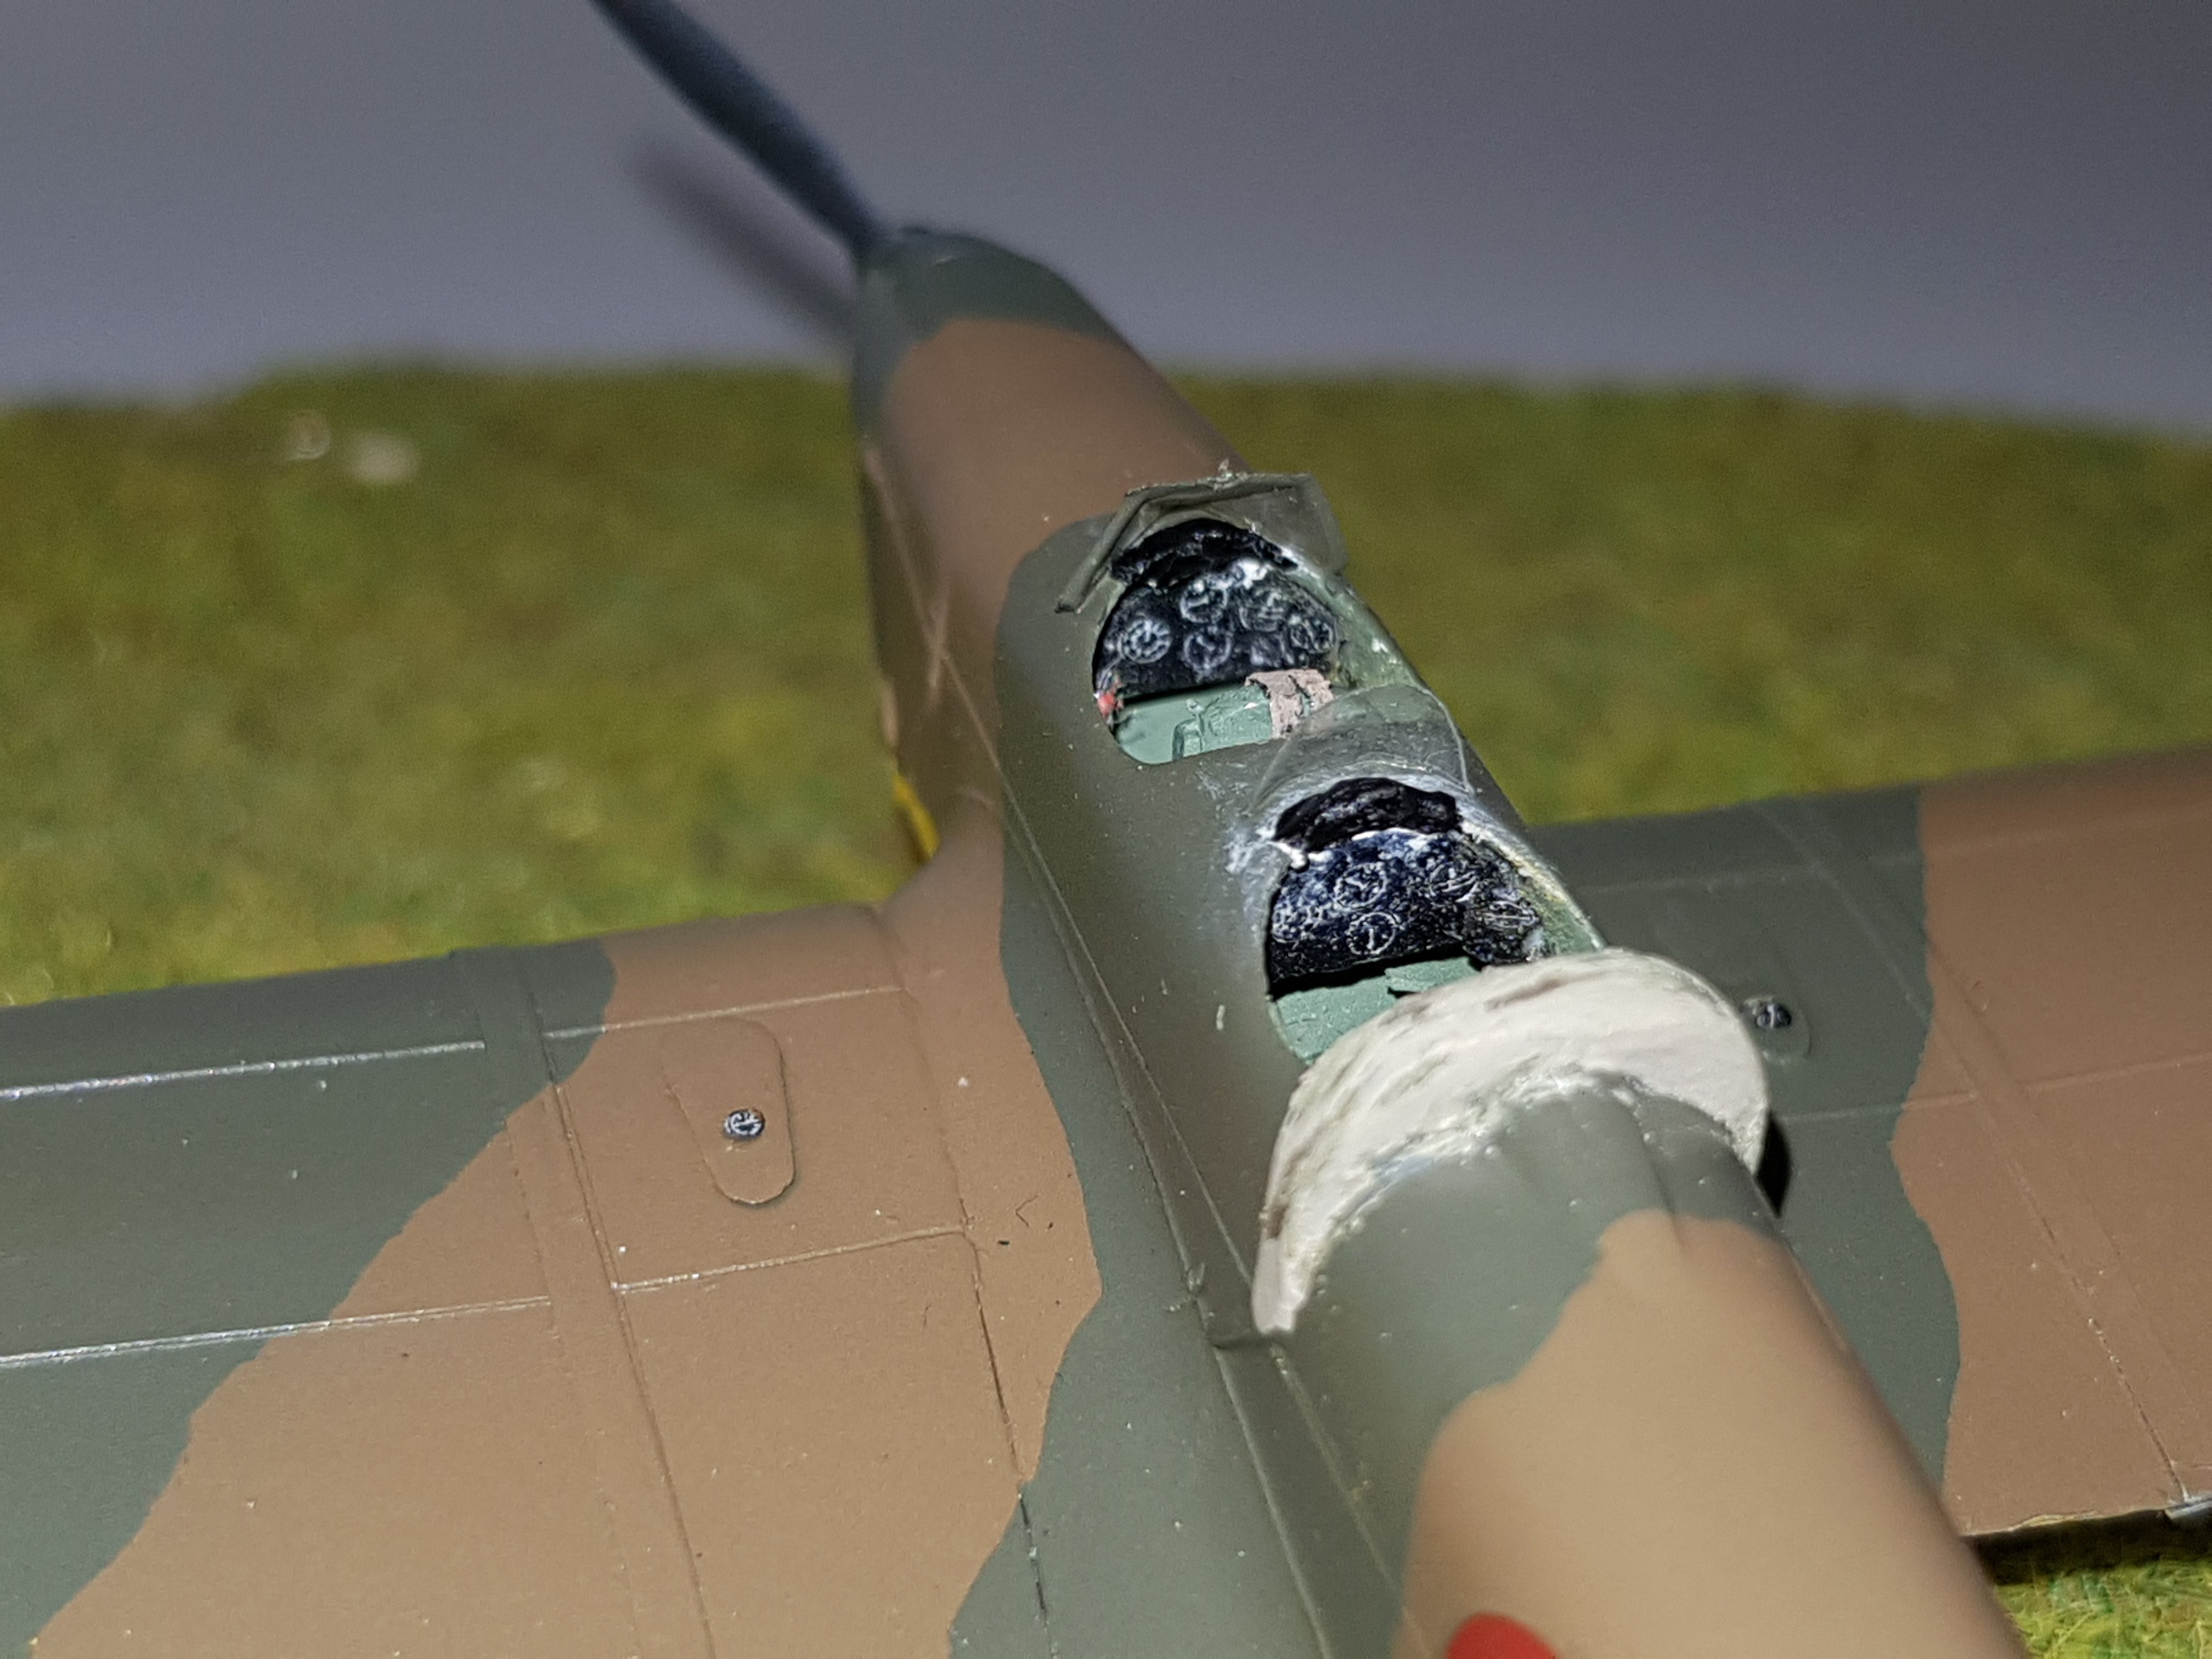
say that the 'office' delivered from the box is quite empty. I started
work filling in the space inside, with a floor, side walls, some wiring
and tubing and the dashboards, included the compass on the right side
of each crew member.


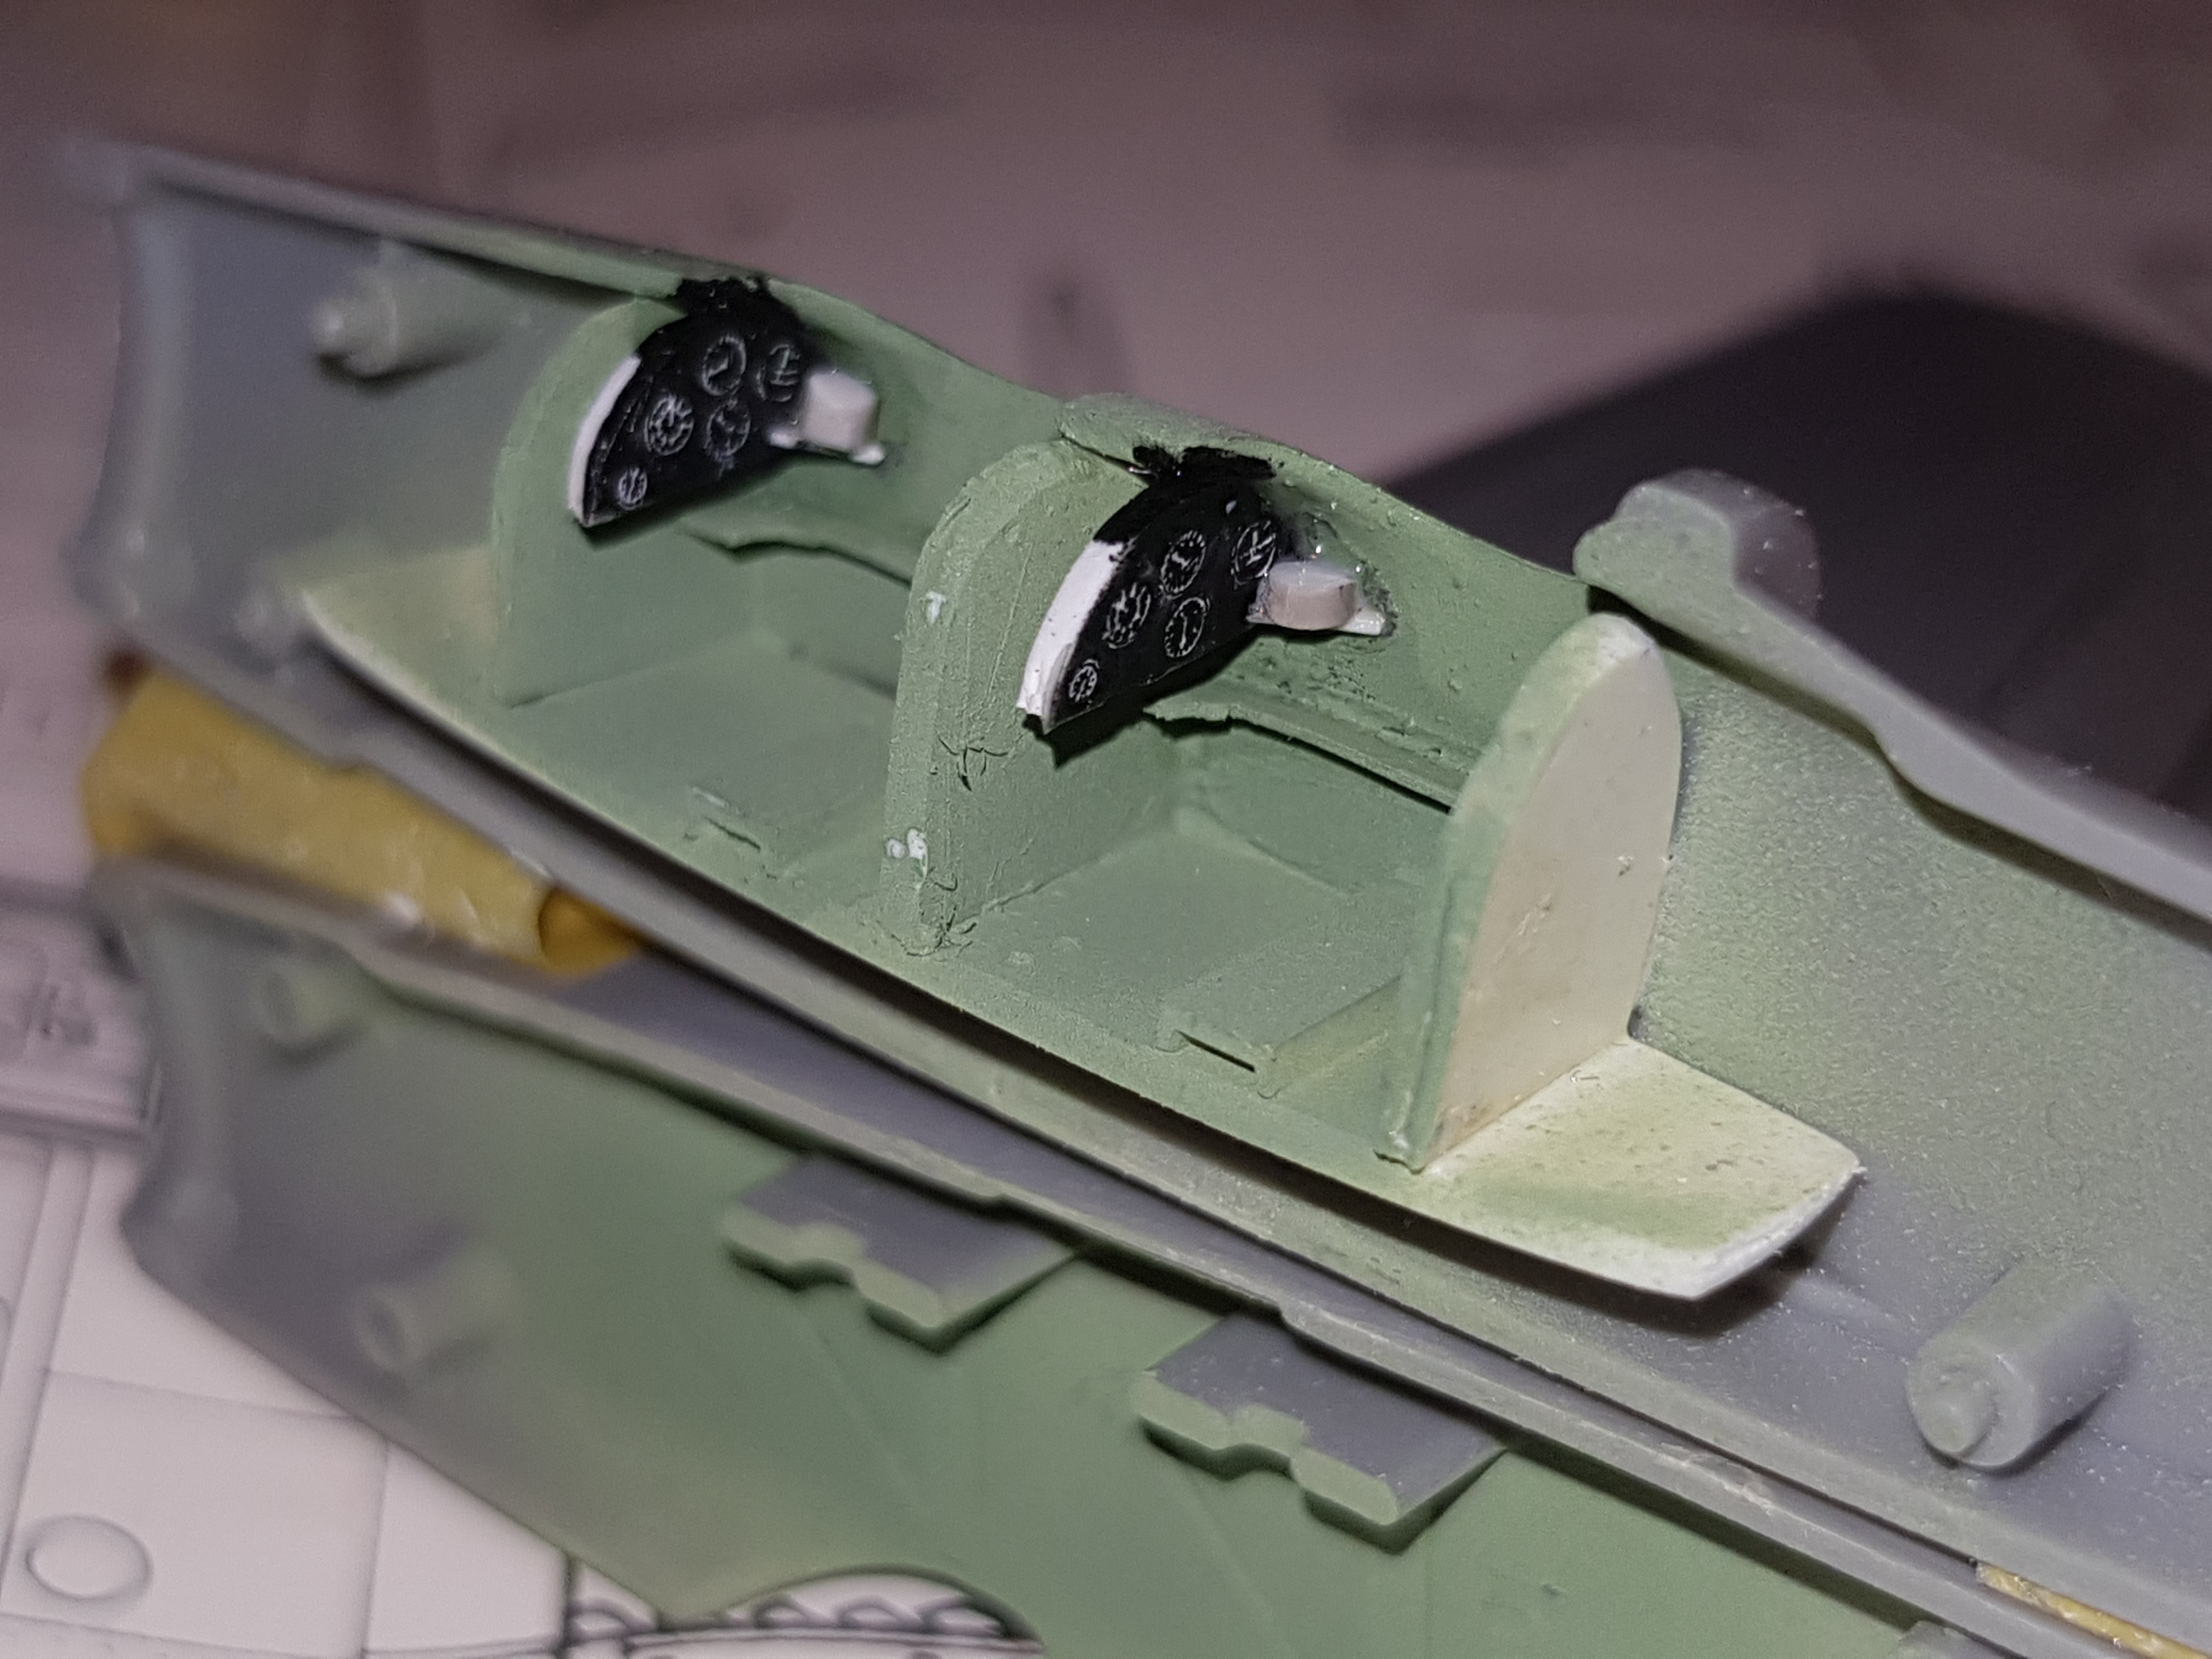

I also simulated the engine controls, throttle and mixture with a
couple of sprues painted red and white, don't know if thos colors are
really accurate, but it gives some live in this space .


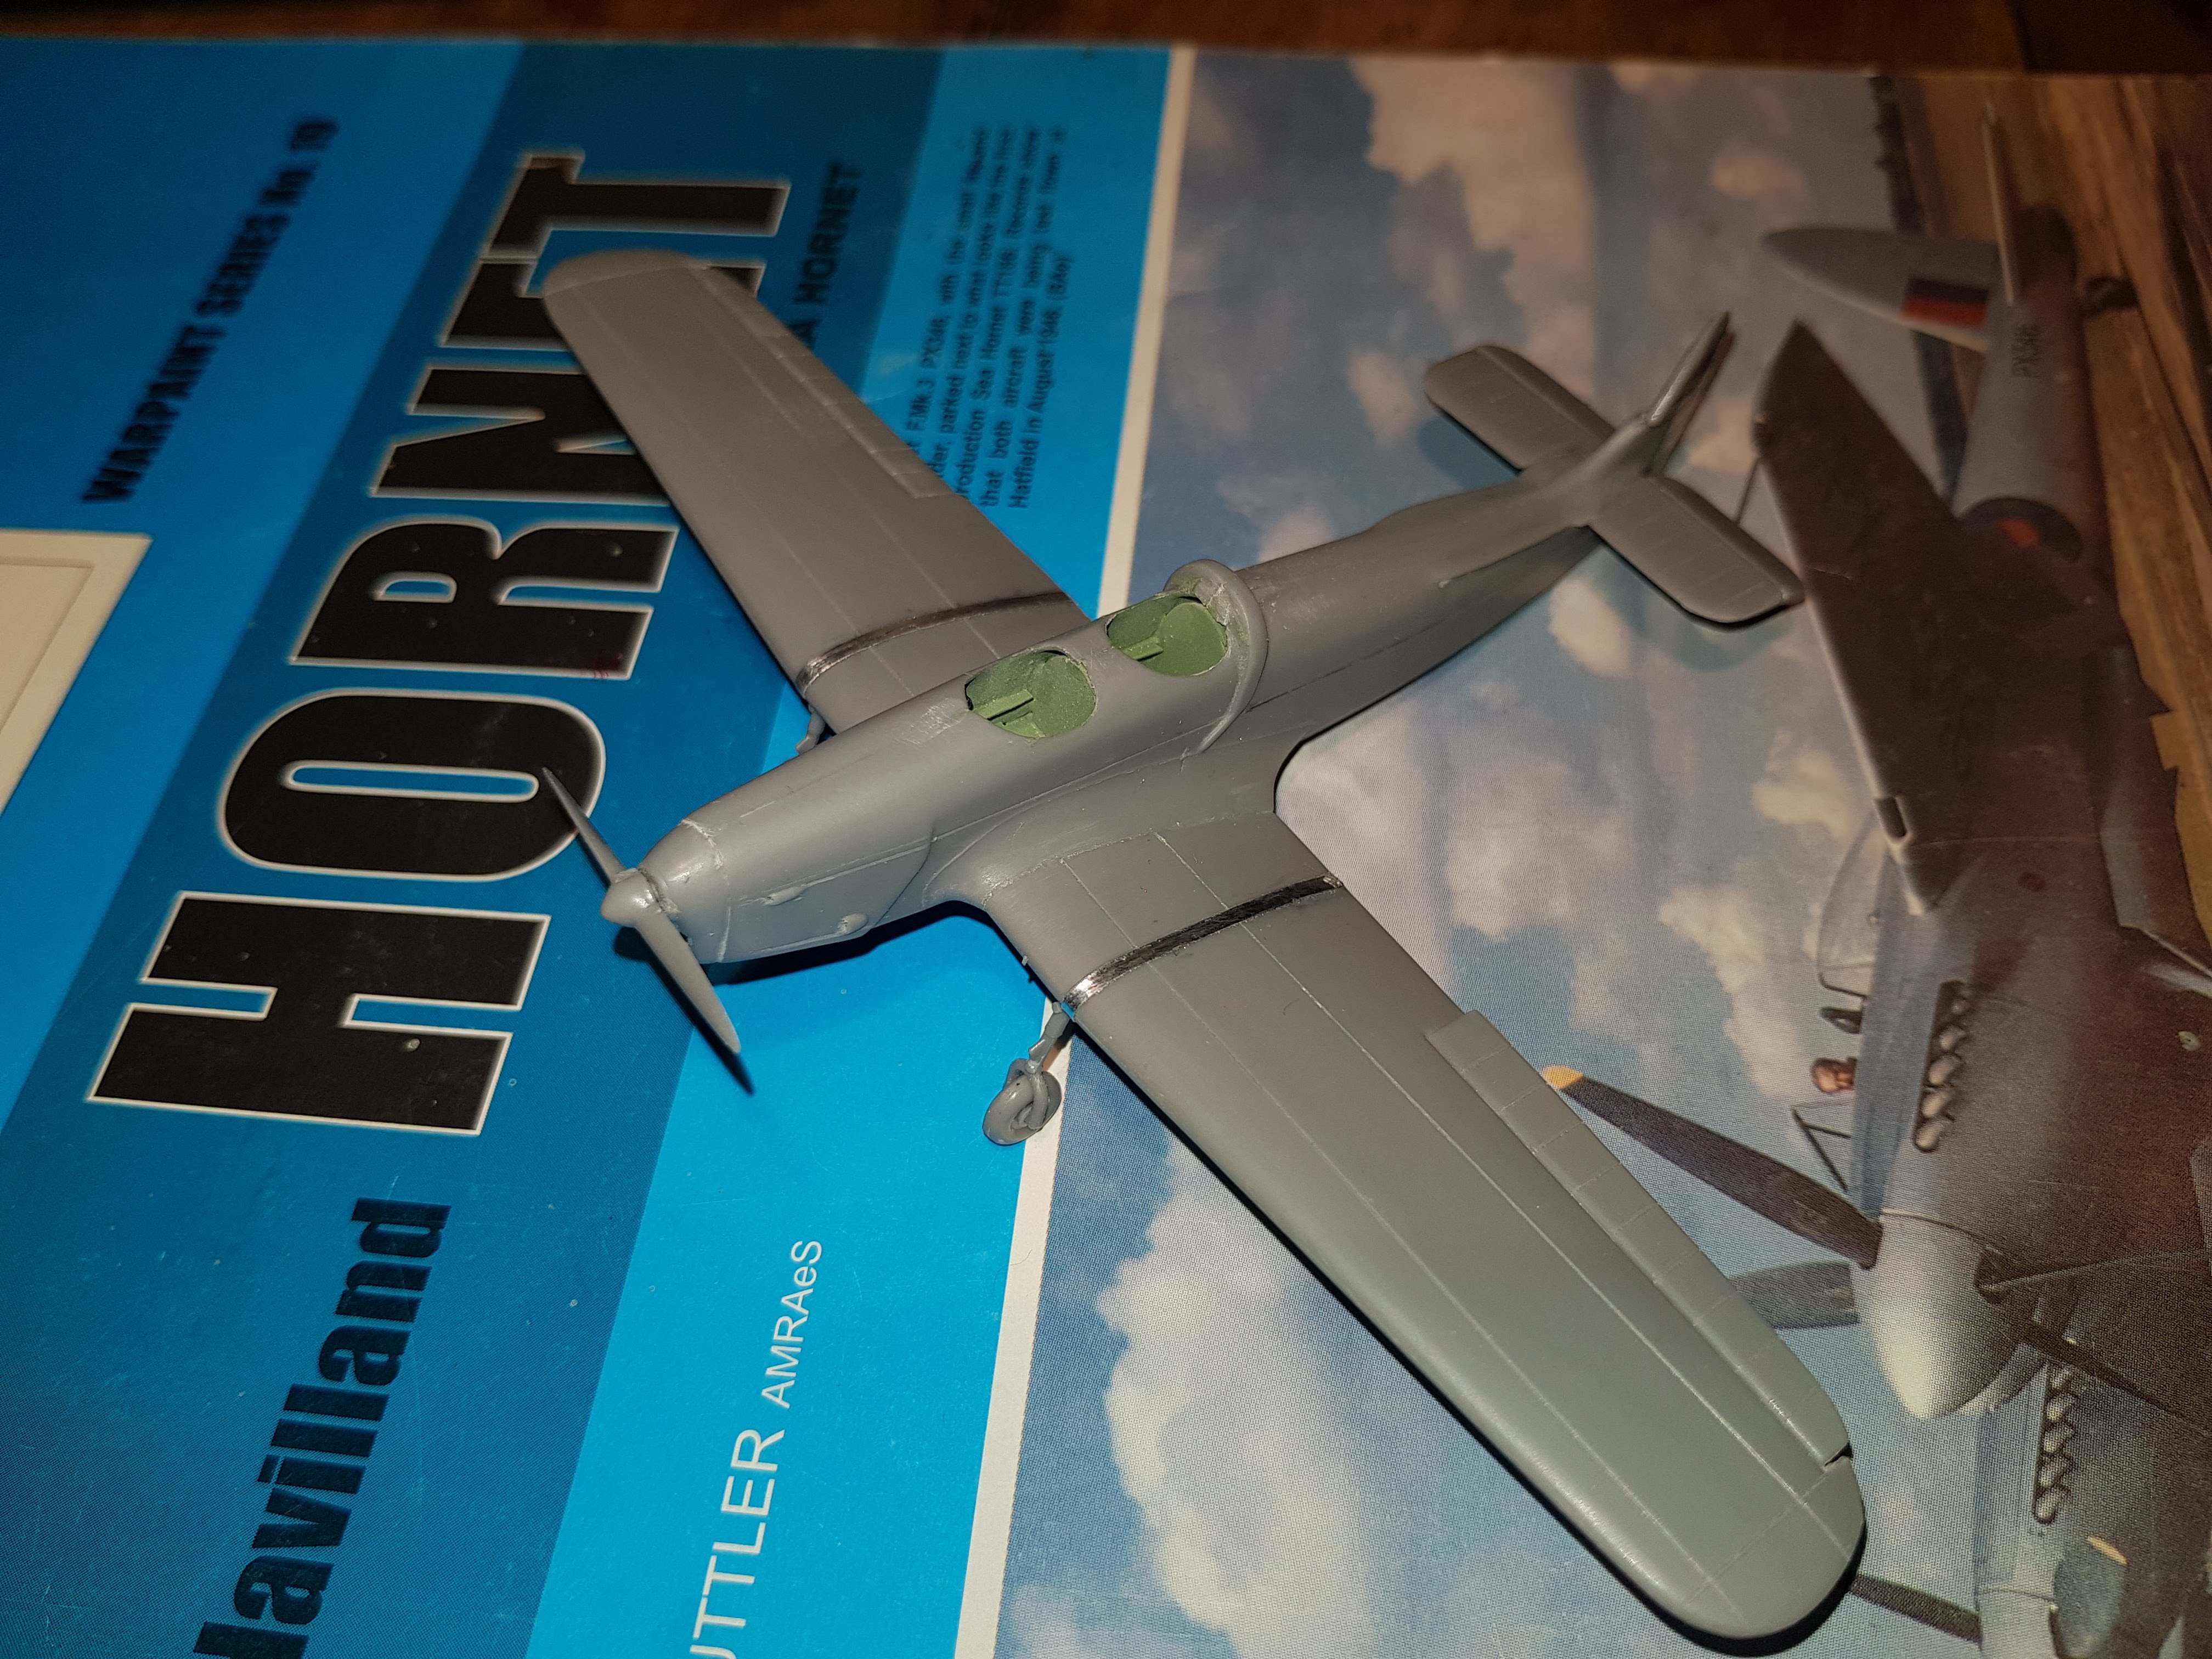
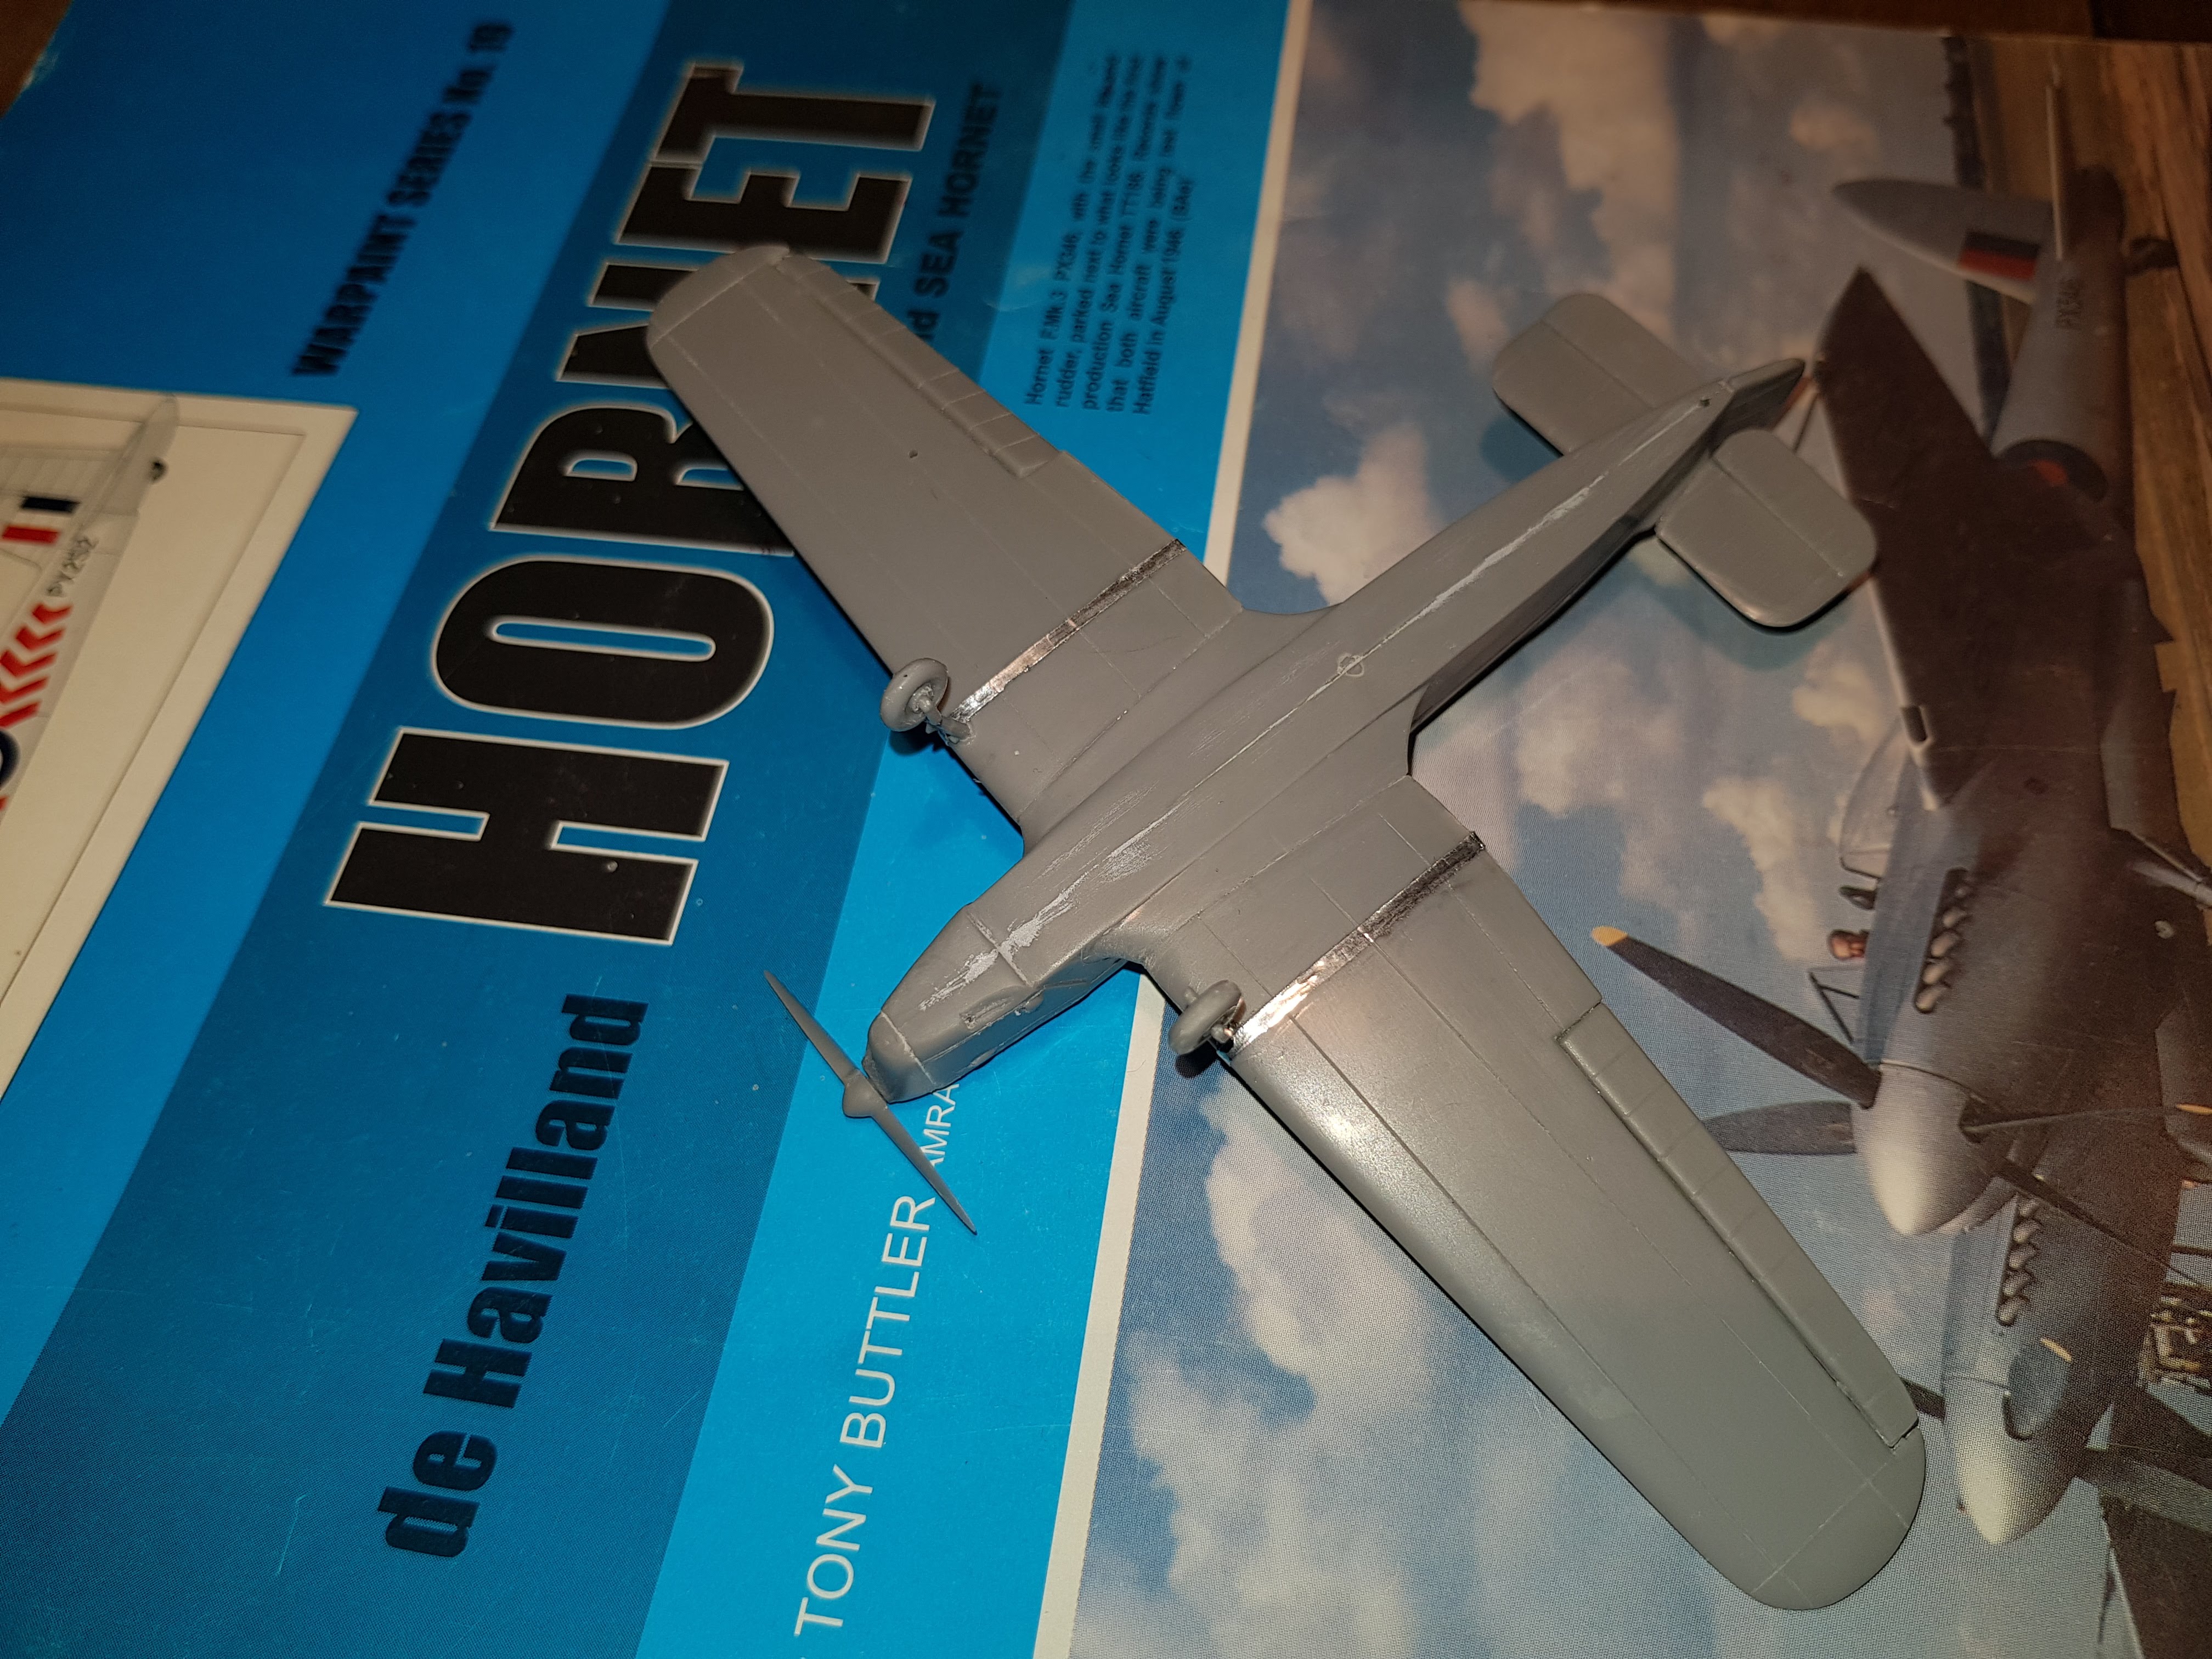
Work goes on, build almost
completed, waiting now for the paint job to start. When the aircraft
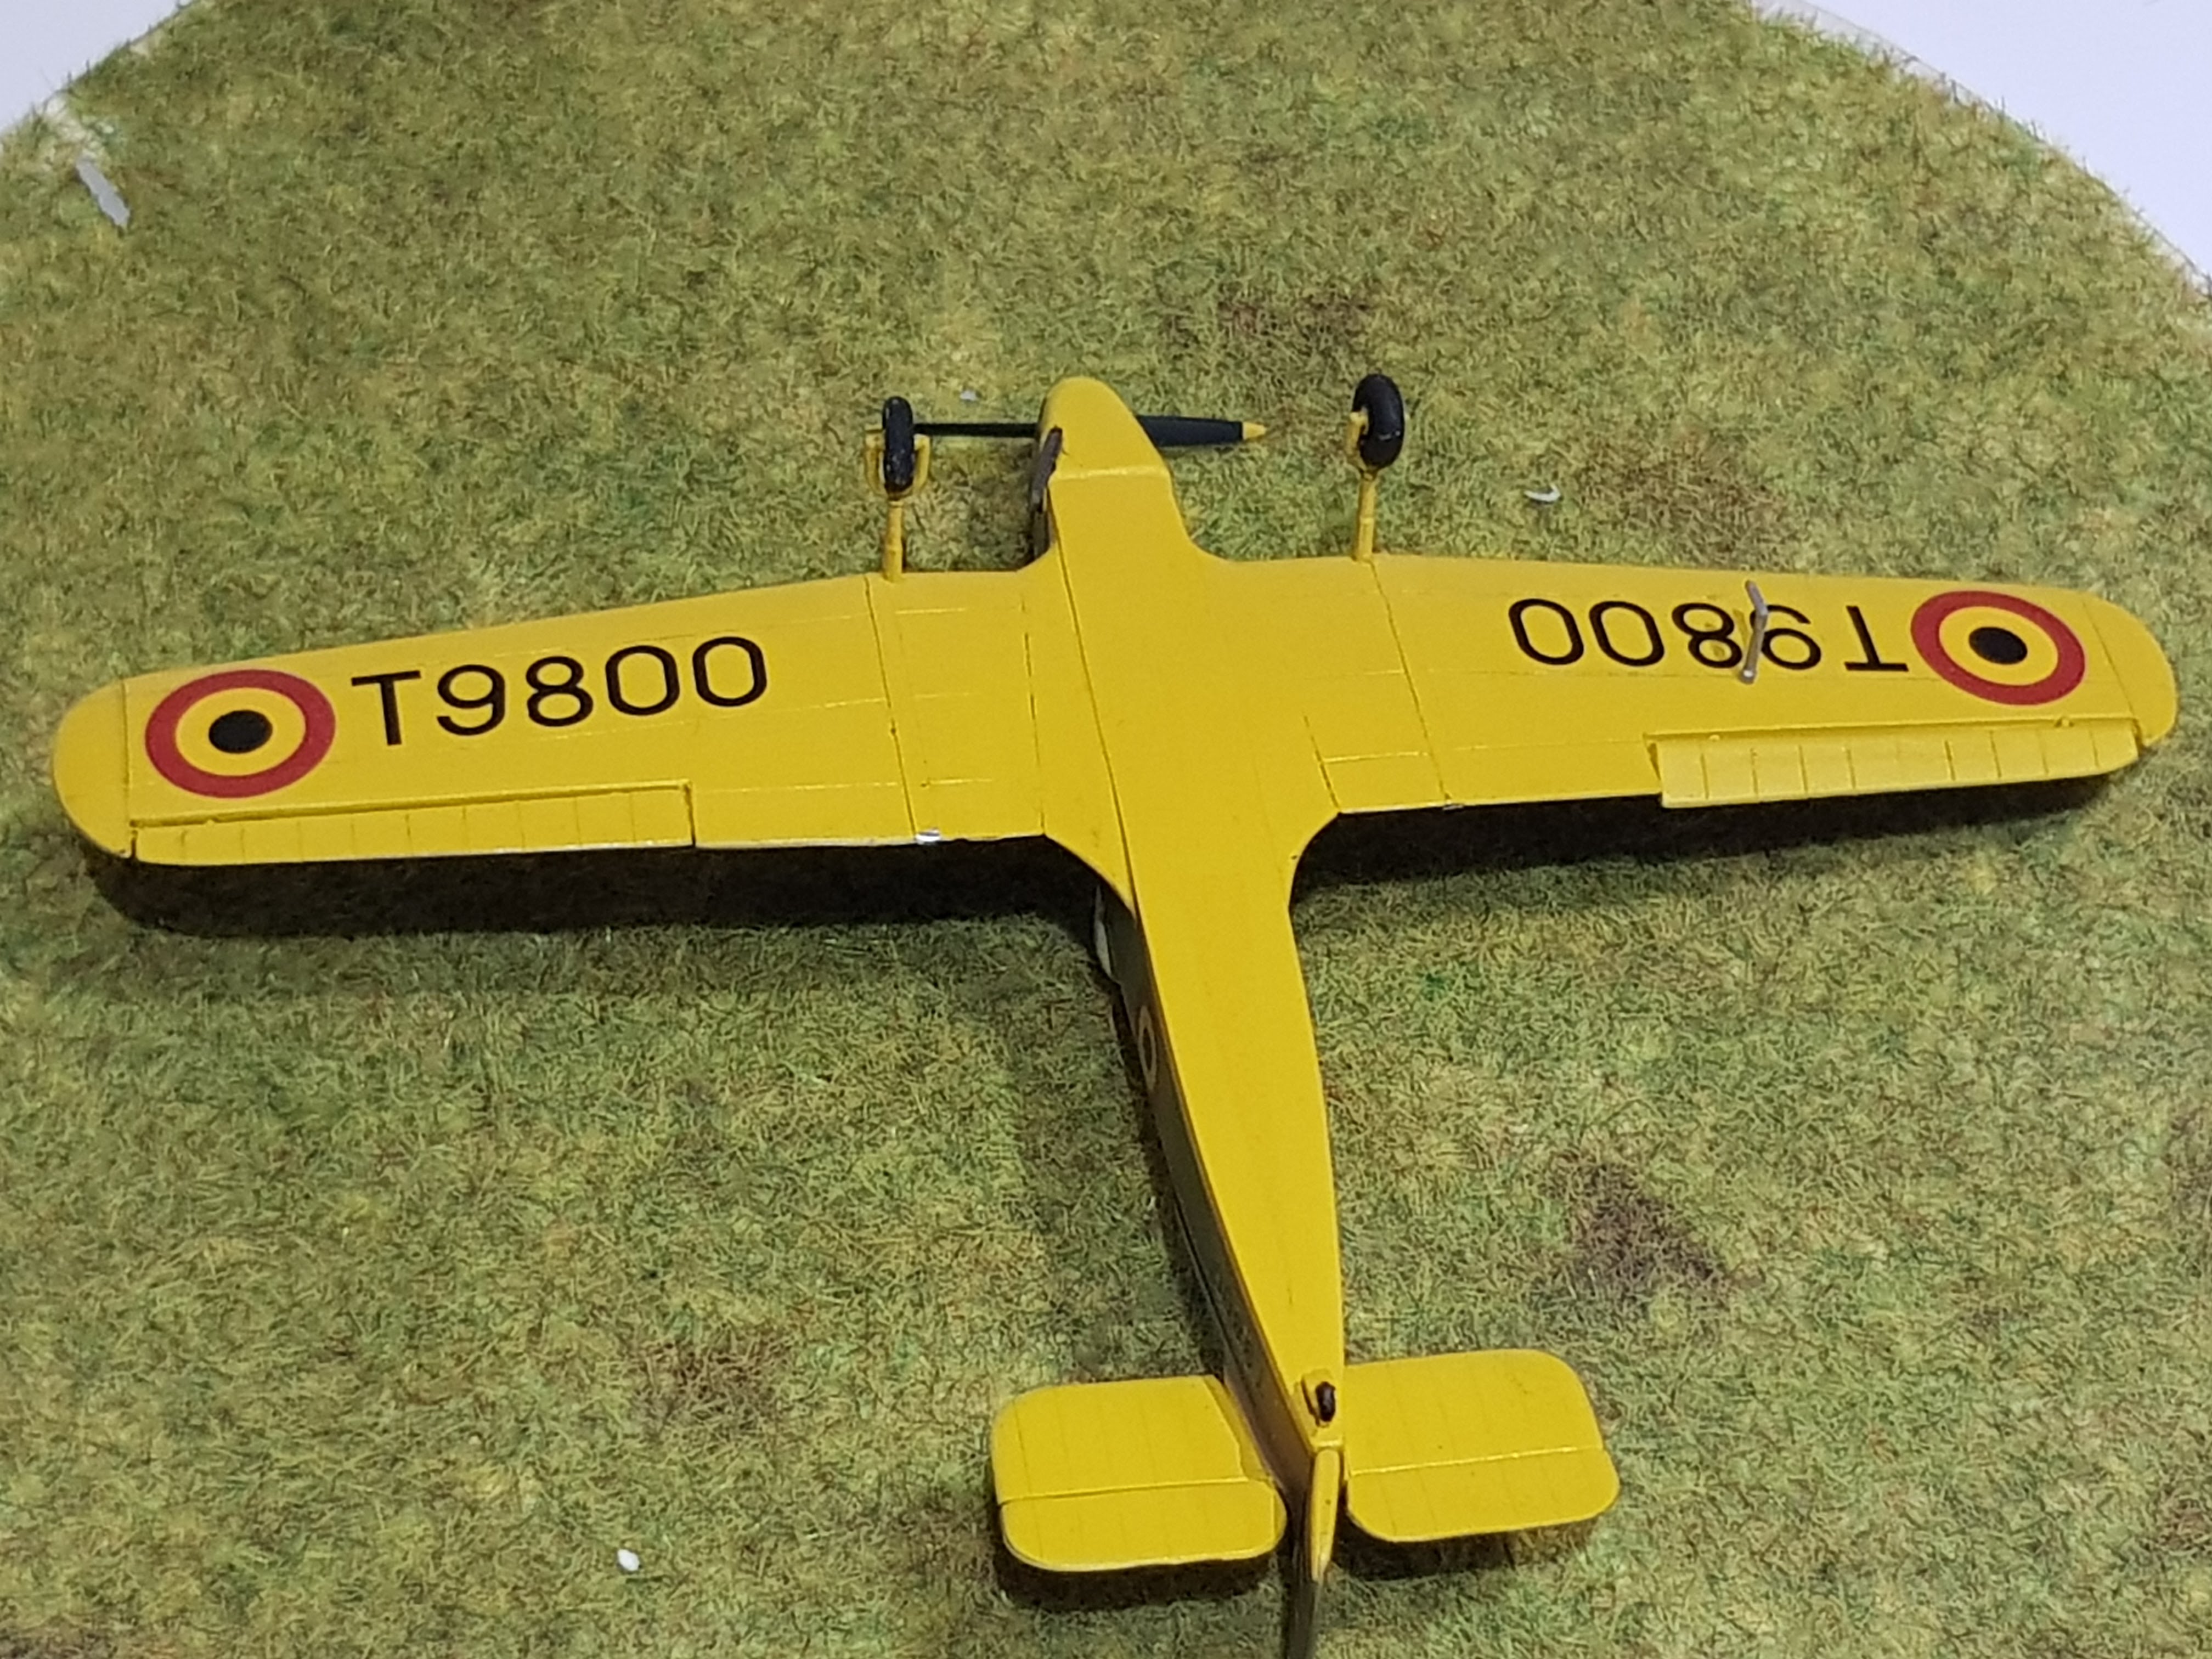
was delivered to the BAF in 1946 it was still wearing its RAF
camouflage and registered T9800. Ultimately during maintenance work, it
was repainted silver overall. I found this finish too uniform, and
decided to build mine in its RAF delivery trainer scheme, yellow
underside, dark green/dark brown upperside,

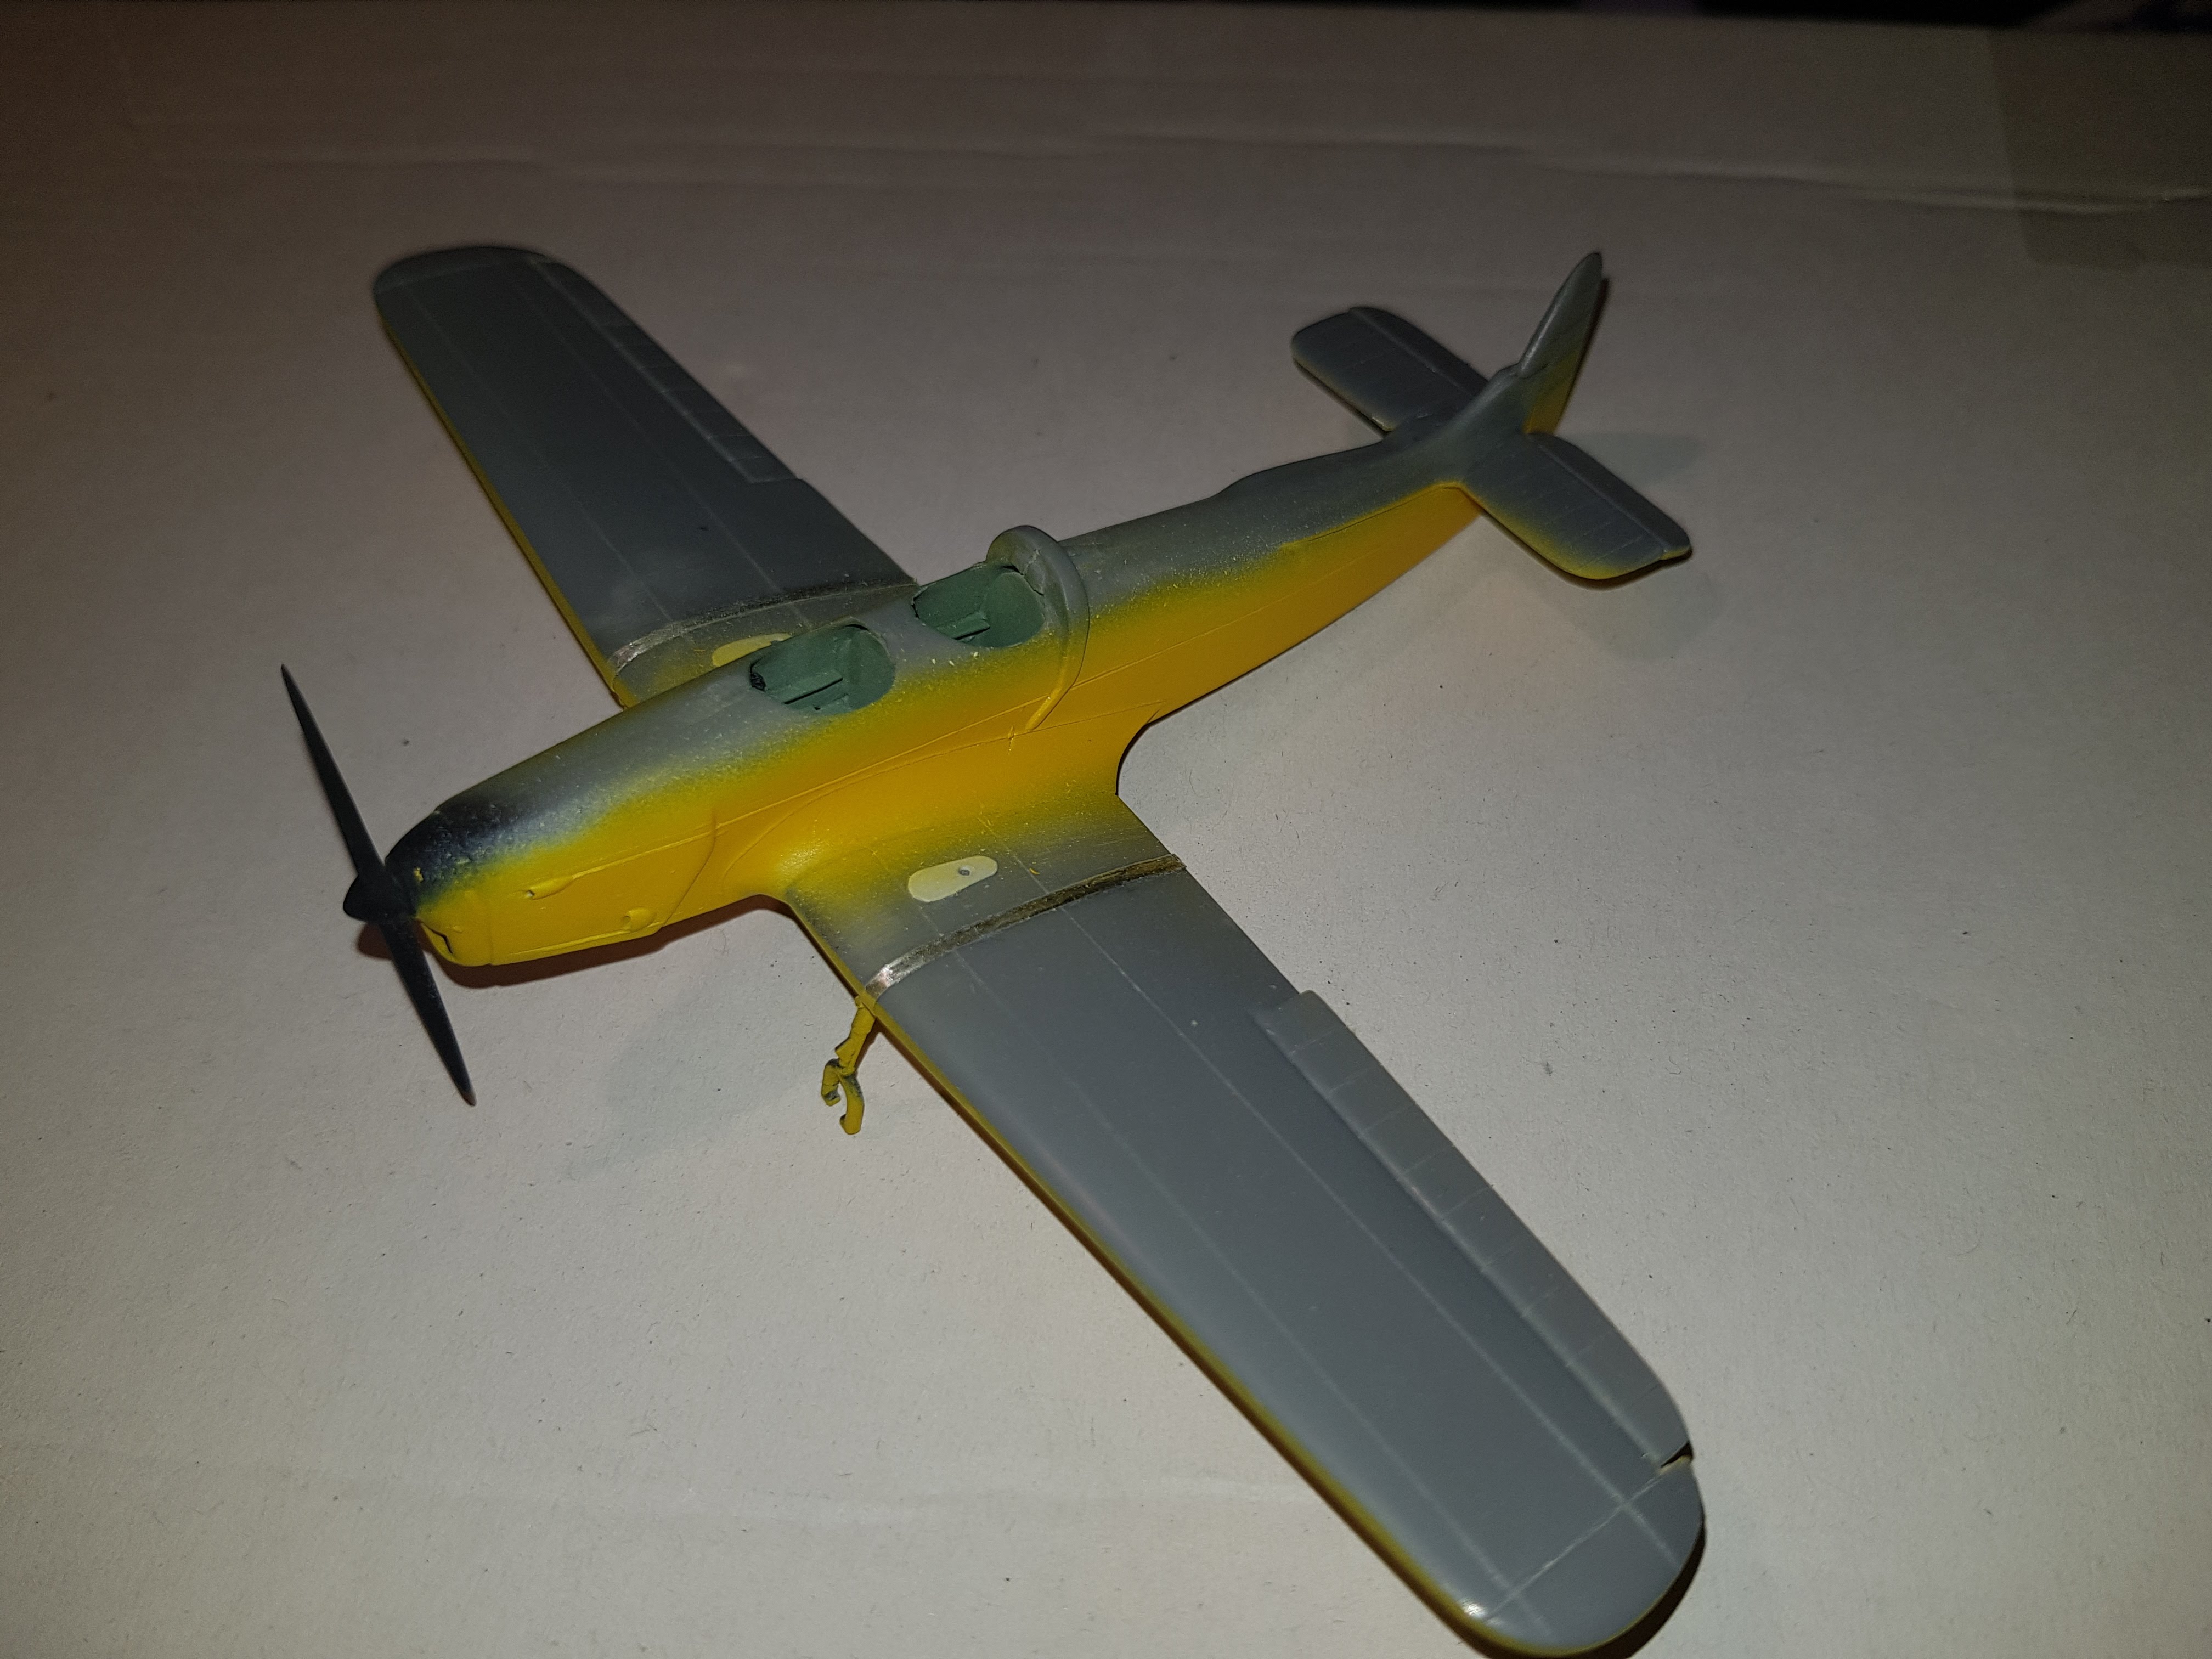
Here we go, starting with
trainer yellow on the undersides and lower part of
fuselage. As you can also see I added on the inner
part of the wings two plates with a hole where the fuel gauges where
located.
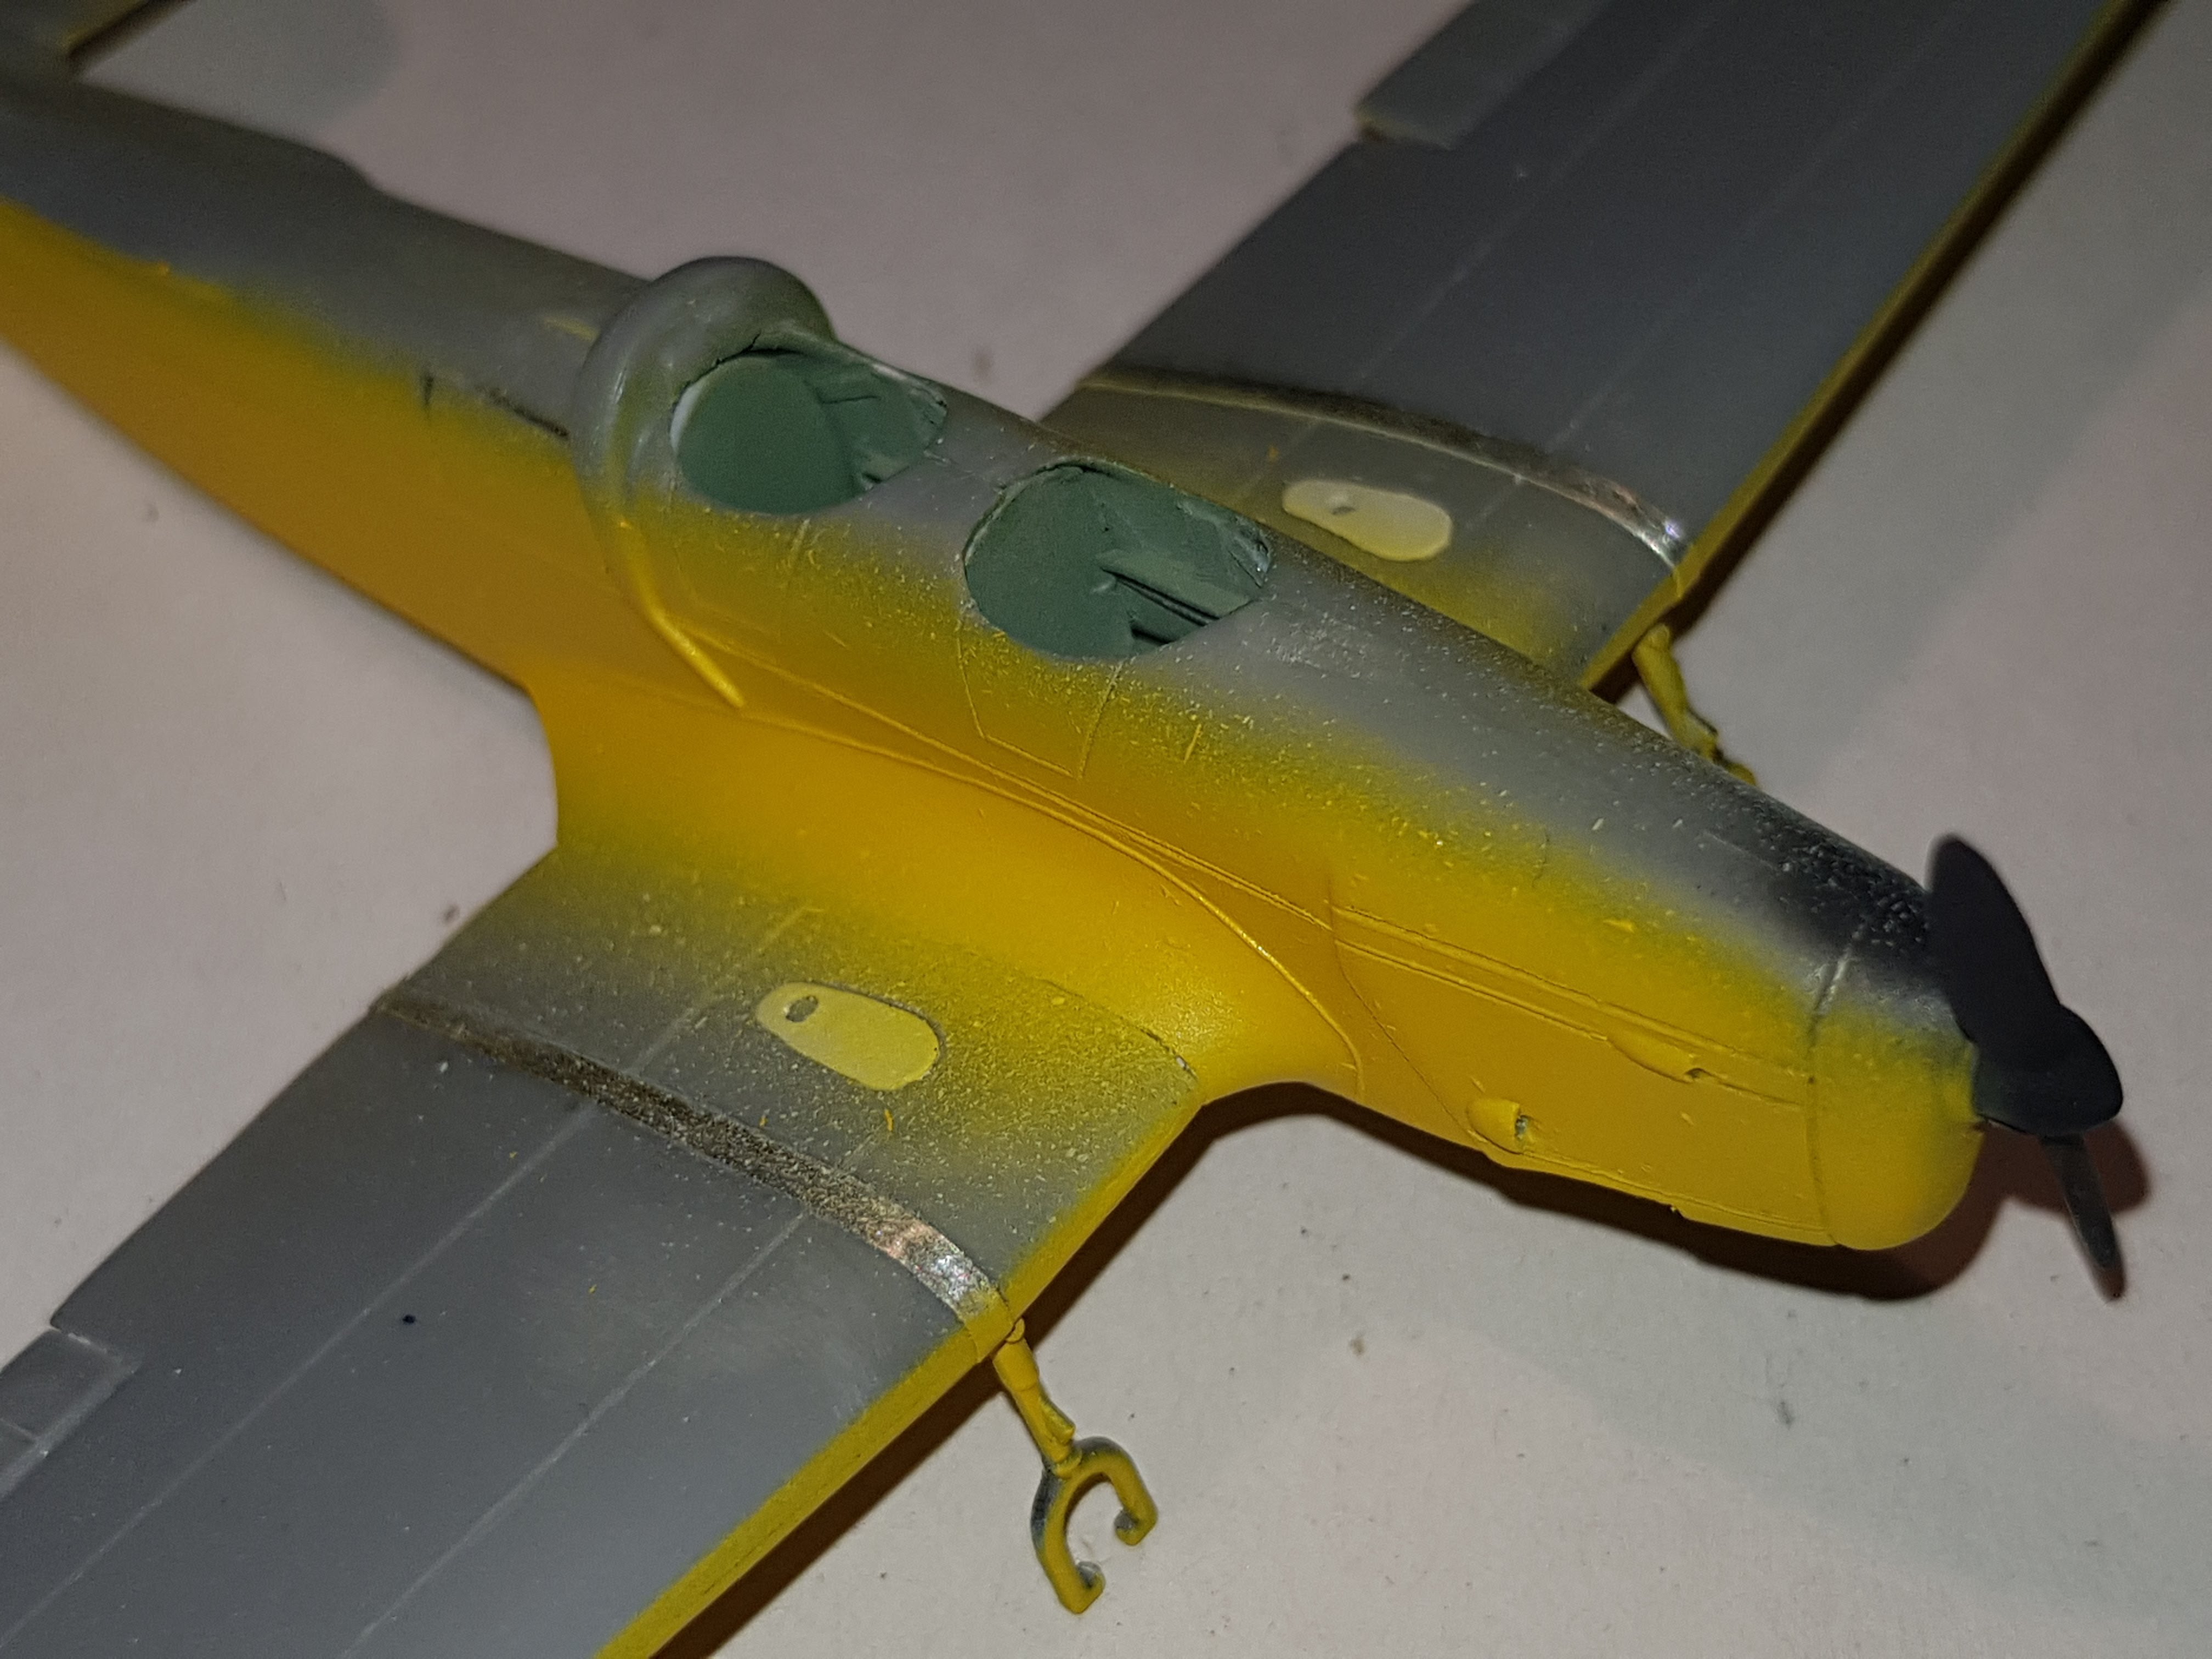

Frog/Novo forgot a main part
of the aircraft and its location : The exhaust pipe. I digged a hole on
the lower right part of the engine cowling to accomodate for the
exhaist tube at a later stage.


Final steps of the build, paint the upper part completed with a coat of Klir, decals are on.
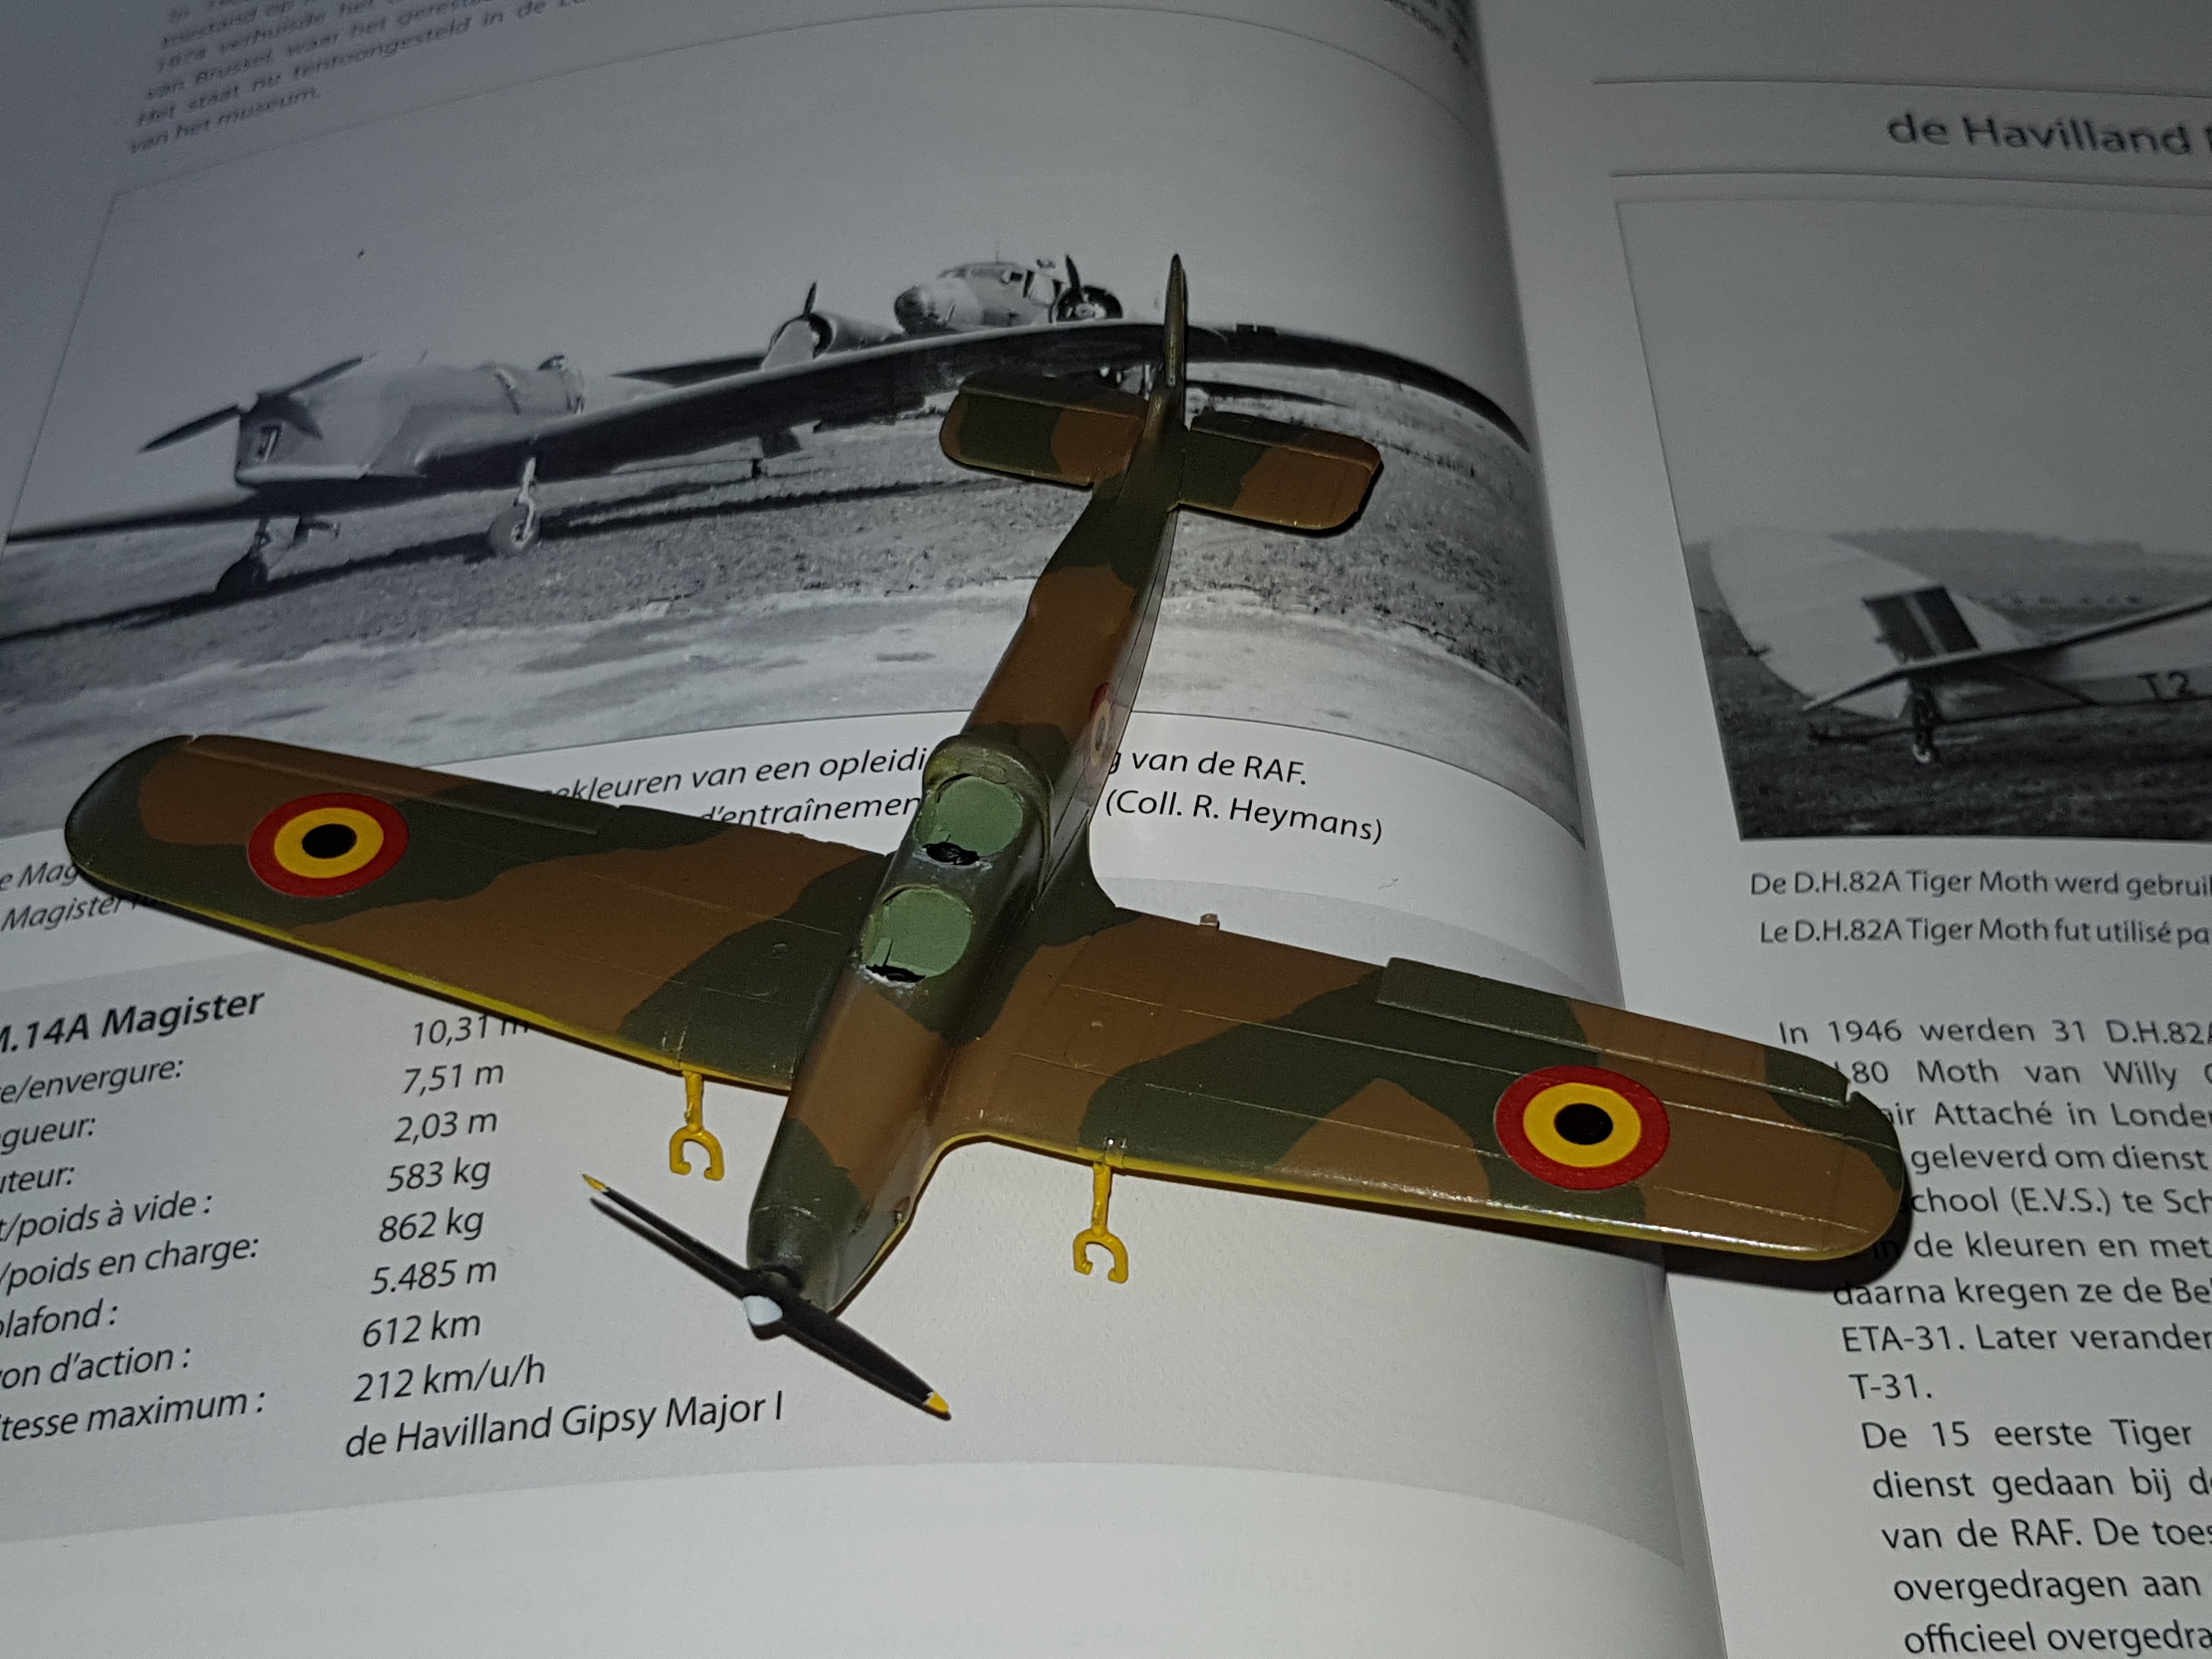


Final pictures after a coat of Micro Flat.
